This year on the allotment, I decided to test out a wee trial with our tatties. We had a good year last year, but decided that, out of around 6 varieties, only to plant Charlotte again (alongside several ‘new’ varieties). Our Charlotte potatoes had performed comparitively well in terms of:
- Taste (yum)
- Yield (good)
- Disease (none)
A local farmer agreed to let us use the corner of a field on his organic farm (that had been turned back to arable use having lain unused as a football pitch) for our community allotments. We knew that it was a bit of a boggy site, as we used to take Rosie doggo there for a run. She loved diving head long into the puddles to cool down!
As the soil is comparitively claggy clay, I’d decided that a version of the ‘no dig‘ method would be our best friend in forging a way forward against drowning and drought. With a strong lean towards the importance of soil health, a plan began to hatch!
In order to continually improve the texture and open up the structure of the soil, stuff would need to be added! In the first year, I’d left one small section of the plot completely uncultivated, but covered it in a layer of thick cardboard and then a load of dead Phragmites. It lay over summer, autumn, winter and into this spring!
The allotment site is a welly fling from the River Nith as it begins to open out into the Solway Firth in South West Scotland. The merse is edged by Phragmite reeds.
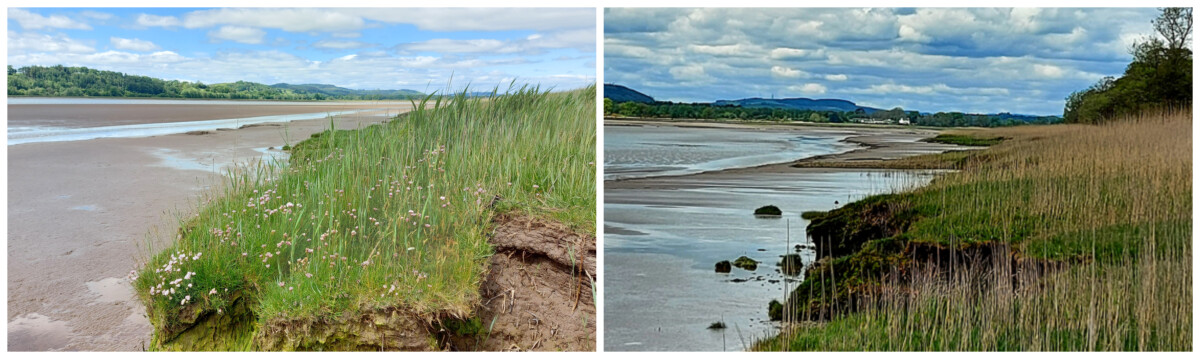 Phragmites starting to grow through the thrift in Spring [left] and the dead stalks in winter
They grow so high that you can wander amongst them completely unnoticed, bar a faint rustle and meandering movement, to the keen-eyed observer.
[Photo to follow – the purple flowerheads are fantastic]
The dead reed leaves and stems break up in the winter storms, collecting in dense waves along the shoreline.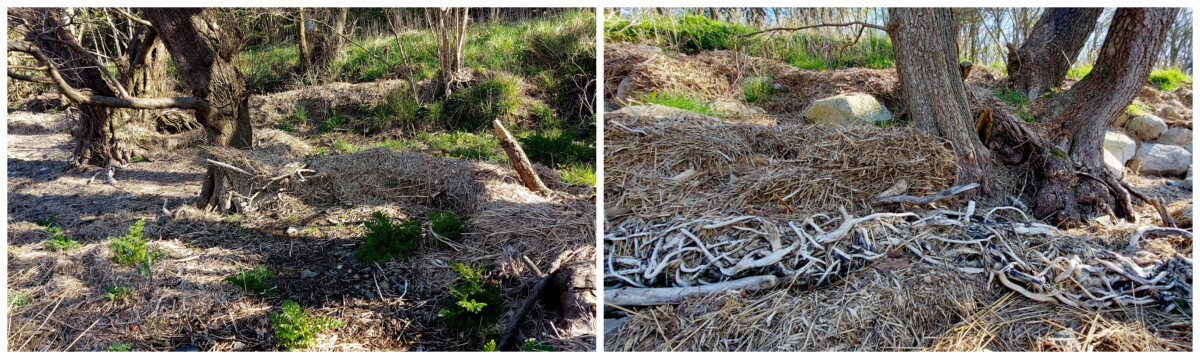
These piles tend to prevent growth from below. (Though you can see Hemlock Water Dropwort poking through the shallower piles in the first picture above – to disprove the point!).
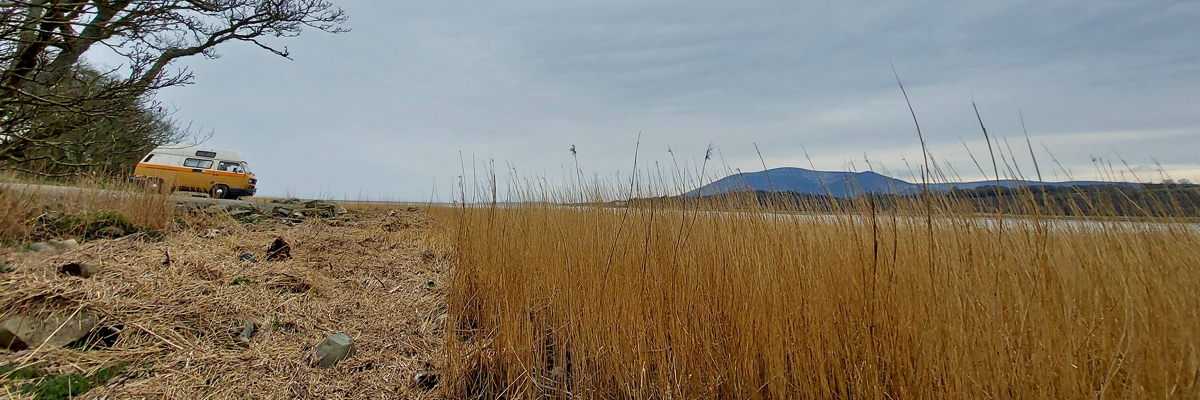
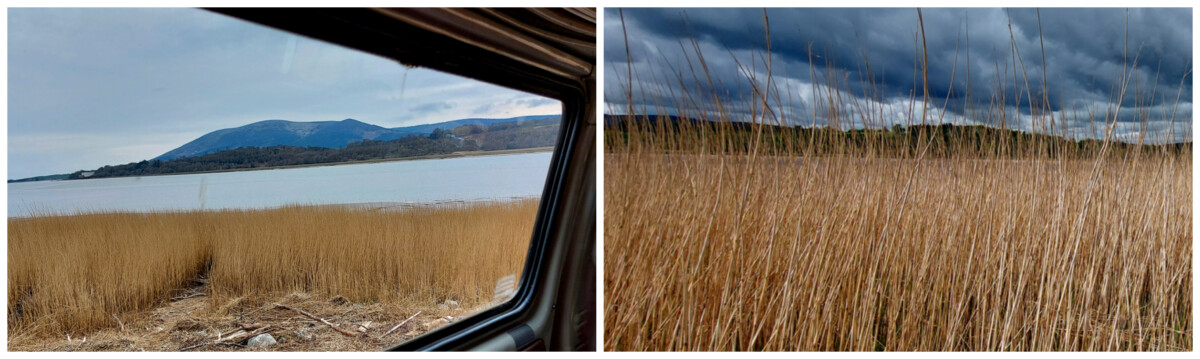
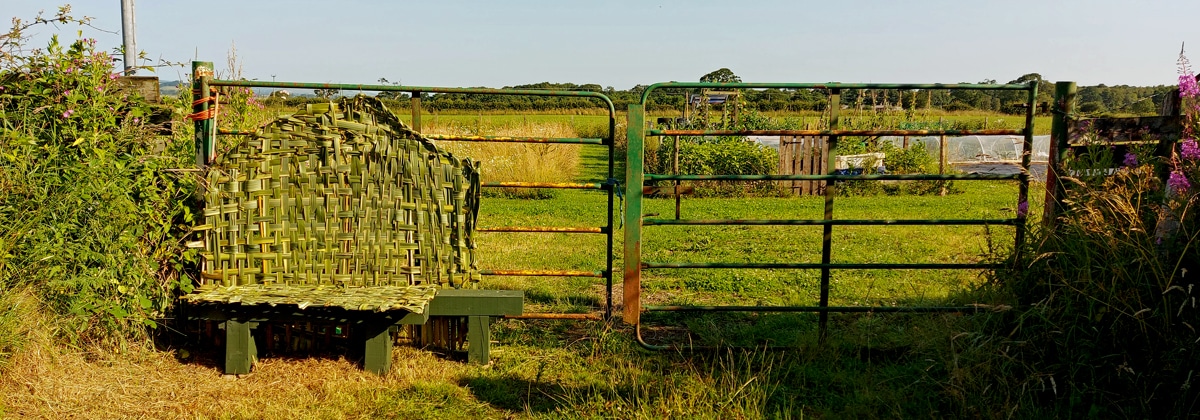
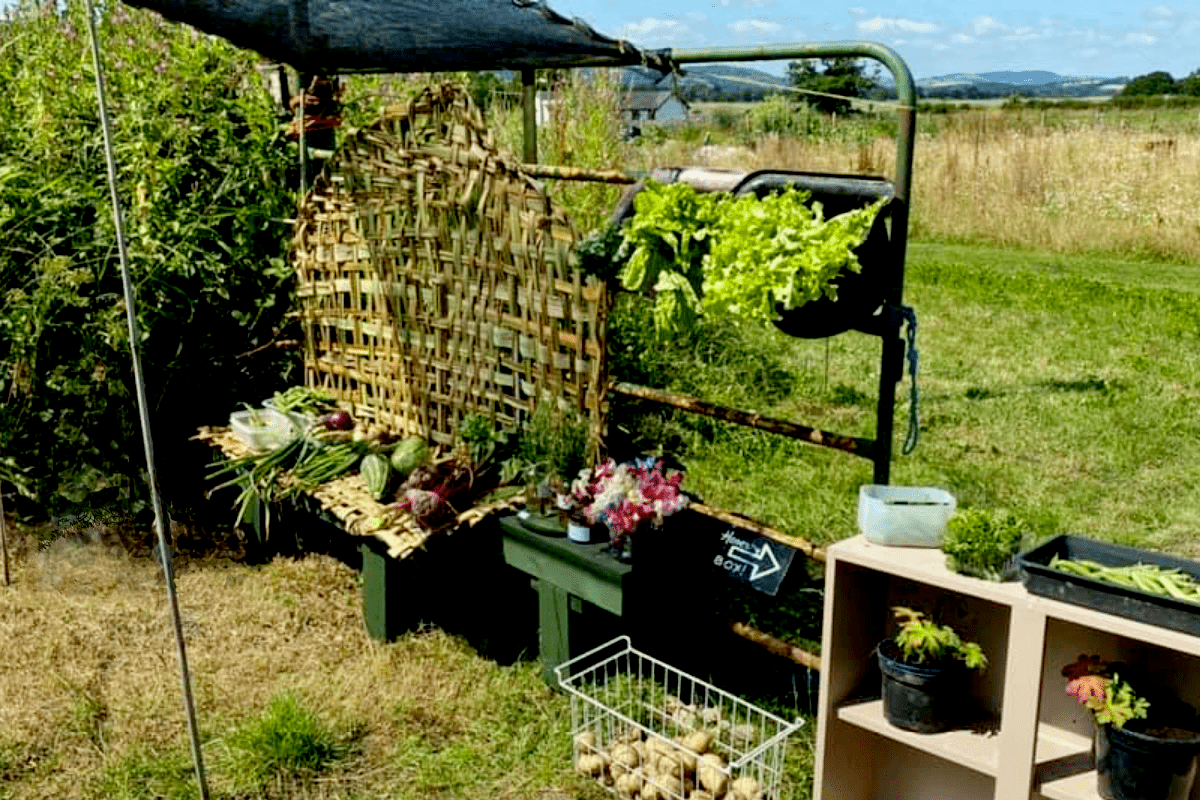
Malcolm and I took a stylishly attuned Freddie VW to the shore to collect box-and-bag-fuls of Phragmites (and driftwood for my bench). Care being taken to avoid transferring any unwanted herbage.
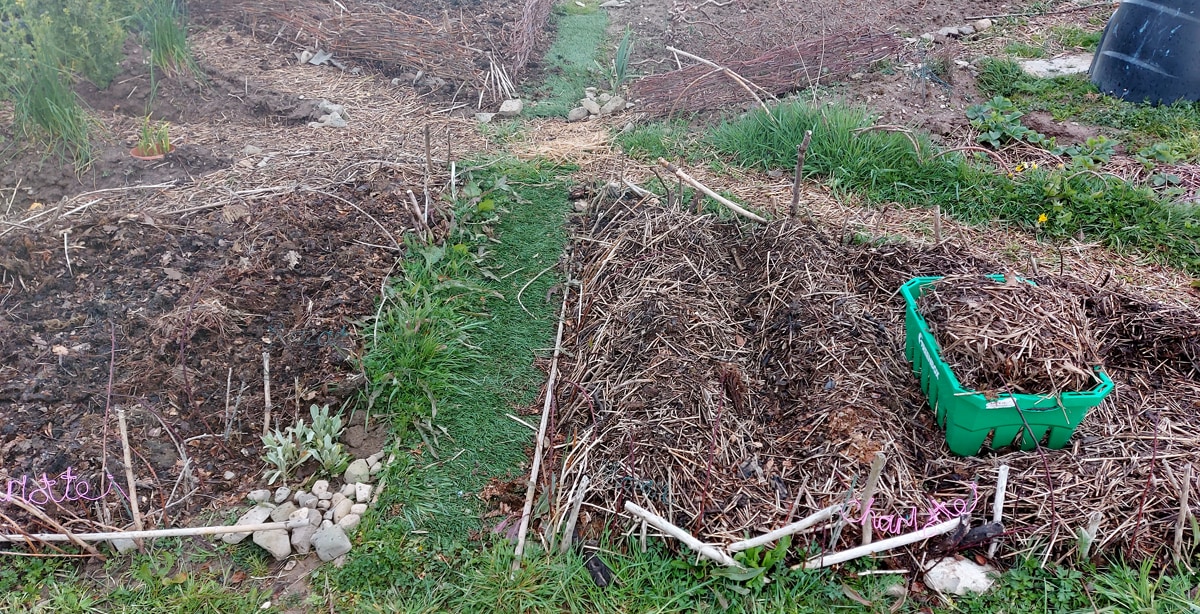
This cargo, we transferred to the plot – making ridges for the tatties. I didn’t plant them in the ground – but nestled them in the Phragmite mounds [right].
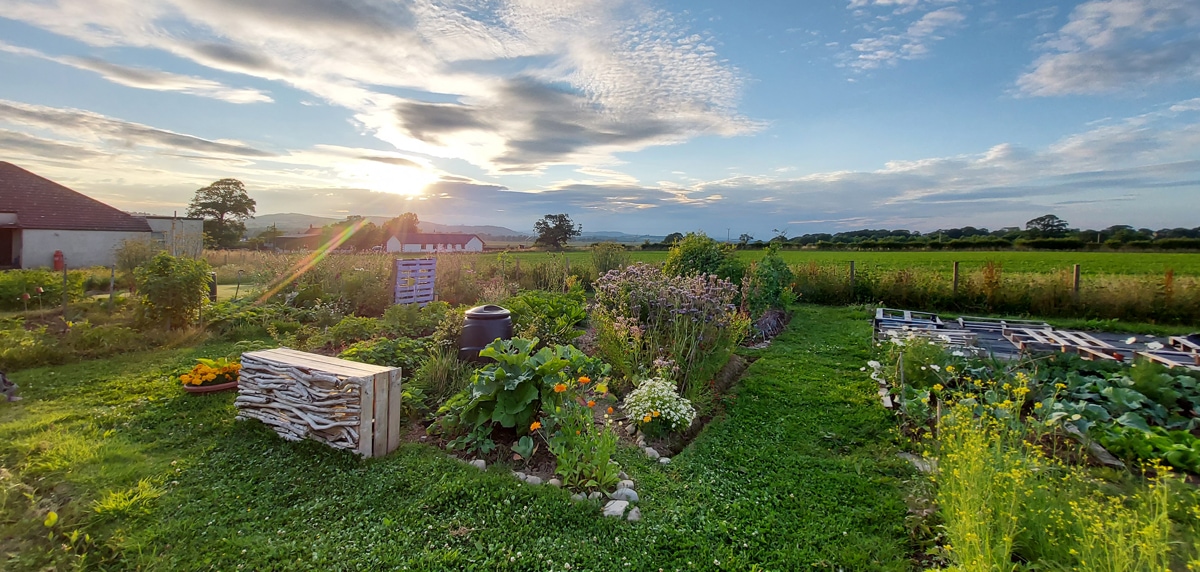
The opposite area [left-side, above] had been overwintered with a layer of cardboard and a thick layer of leaf-mould and compost from my parent’s garden. (Yes – we’d brought back black bin-bags full of beech leaves and compost, all the way from Edinburgh!).
I laid out the ‘beds’ so that the potato rows have the same varieties, symmetrically. That way, hopefully, comparisons will be easier.
You can also see I’d covered some of the paths in phragmites. This in the hope that it would make them less treacherous when wet (as well as to keep the weeds down). You can see that this worked to some extent – a years worth of weeds can be seen on the path margins to the right!
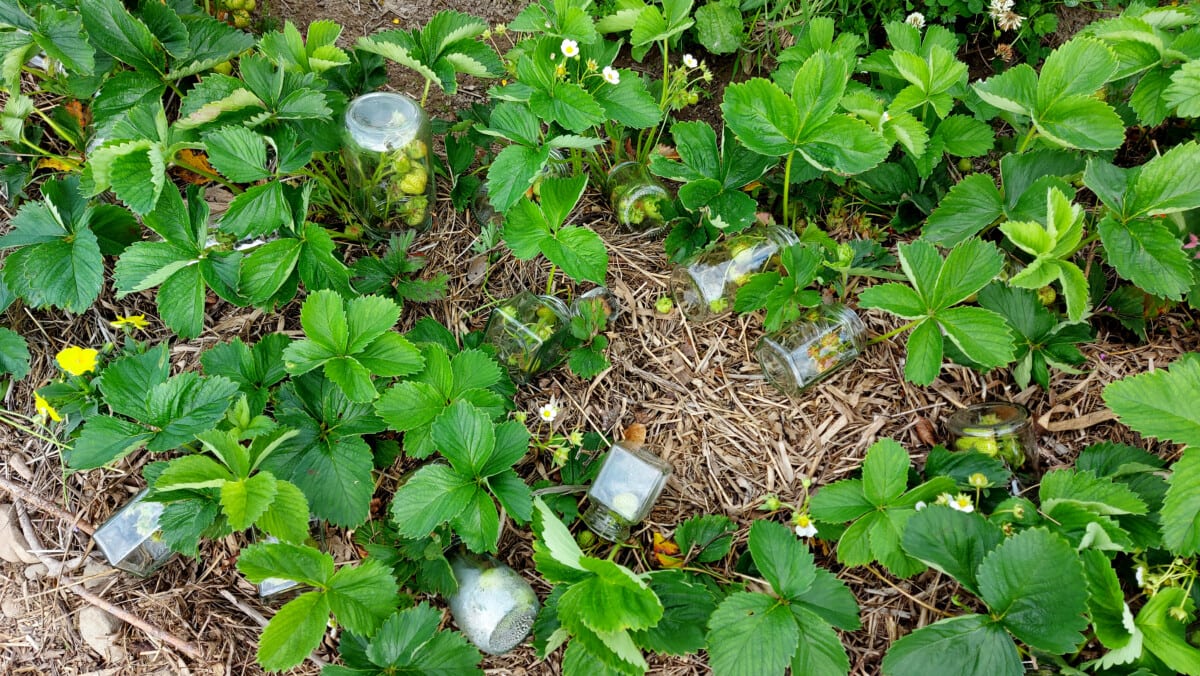 I also used the Phragmites around the strawberry patch – instead of straw! Left on site, this should hopefully begin to change the soil structure there too.
I’d read a bit about Highland Island/ Irish communities using seaweed to grow on their tatties – and how they wouldn’t eat them unless they had been grown under it! As the tatties that had been grown in the compost/leaf-mould combo were growing through – I realised that they’d need further ‘earthing up’.
So I decided that we needed to start collecting seaweed! Conscientiously! (Take some, leave some). It took several trips over several weeks to gather enough, as there’s not a huge amount of seaweed deposited on our shores.
Incidently, rehydrating seaweed creates a glorious glutinous gloop!
In terms of mulching, both the Phragmites and seaweed have done an extremely good job. Both have suppressed weeds really well (though there have been a fair few docks to remove from the Phragmites, there have been none of the pesky creeping buttercup, or other weedishness of remaining un-mulched areas).
Most impressively, both have retained moisture really well throughout our heatwave and very dry spell. The top layers were dry – and in the case of the seaweed, baked on hard – but underneath, they were cool and damp.
Result!
Another huge positive, and almost the whole point, is that both are breaking down, creating a richly textured medium, which *has* to help the fine density of the clay – doesn’t it?!
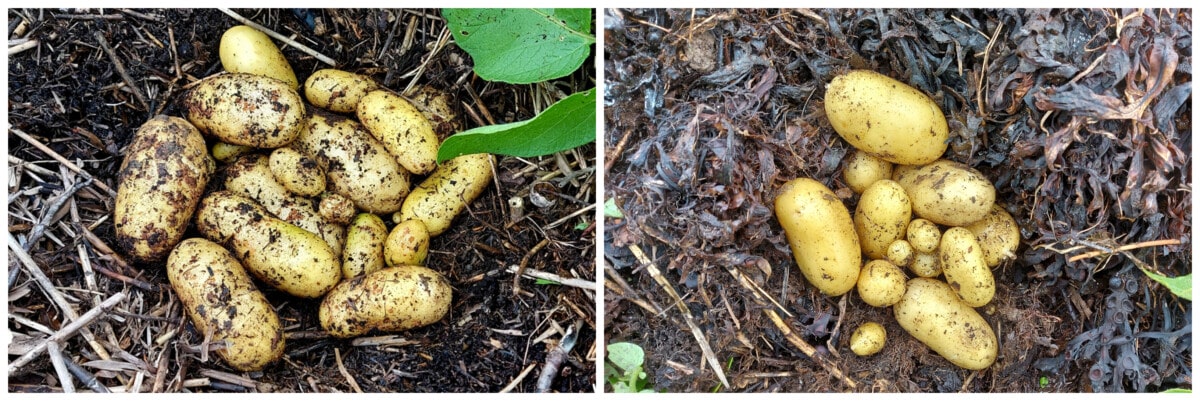 It was a pleasure to delve into both mulches to find the Charlotte treasures today! Phragmites on the left, seaweed on the right.
It’s too early to conclude, as this is only the crop from one plant from each section. But so far, the Phragmites are outperforming the compost/ leaf-mould and seaweed medley by a good few tubers/ ounces! Though the seaweedy harvest is completely clean of scab – this may or may not be mulch related! We’ll see what we can deduce from the rest of the trial.
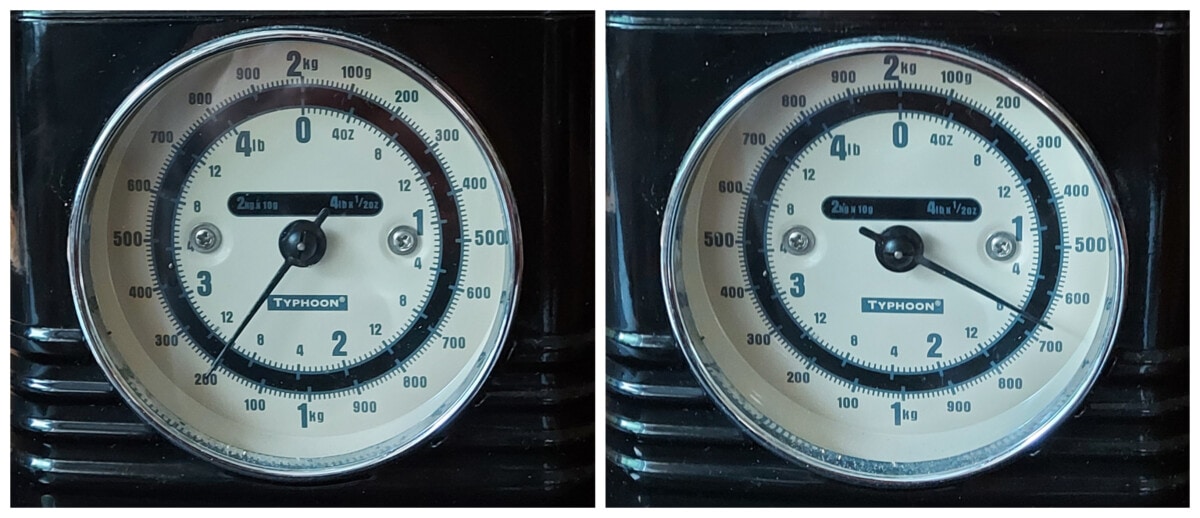 Weight of tatties in Phragmites, left and seaweed, right
Now, all we need is the taste test!
To be continued…


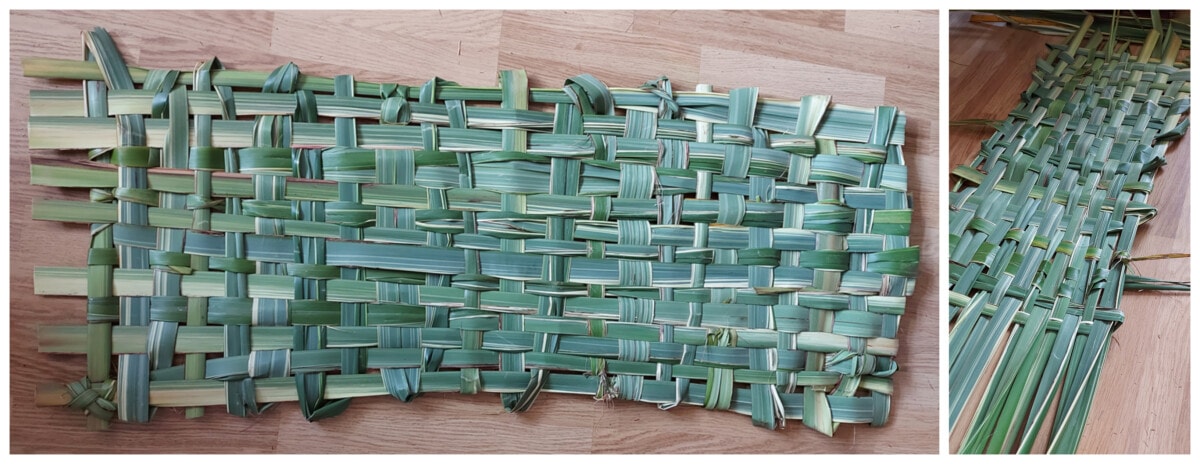

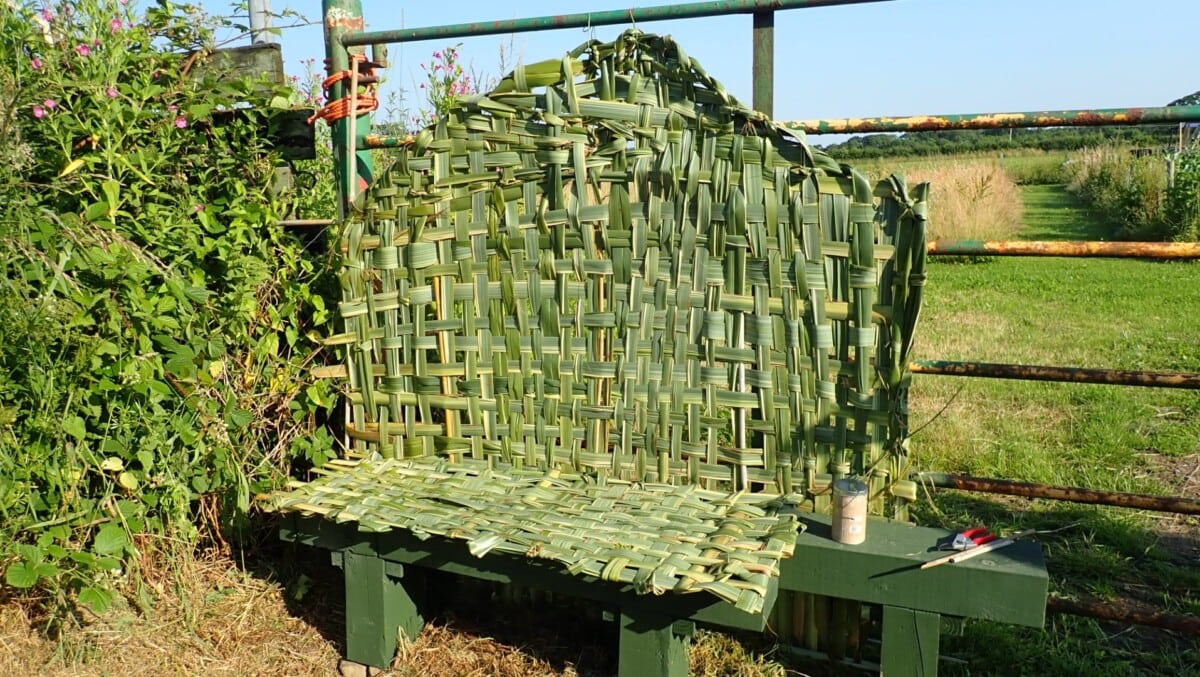

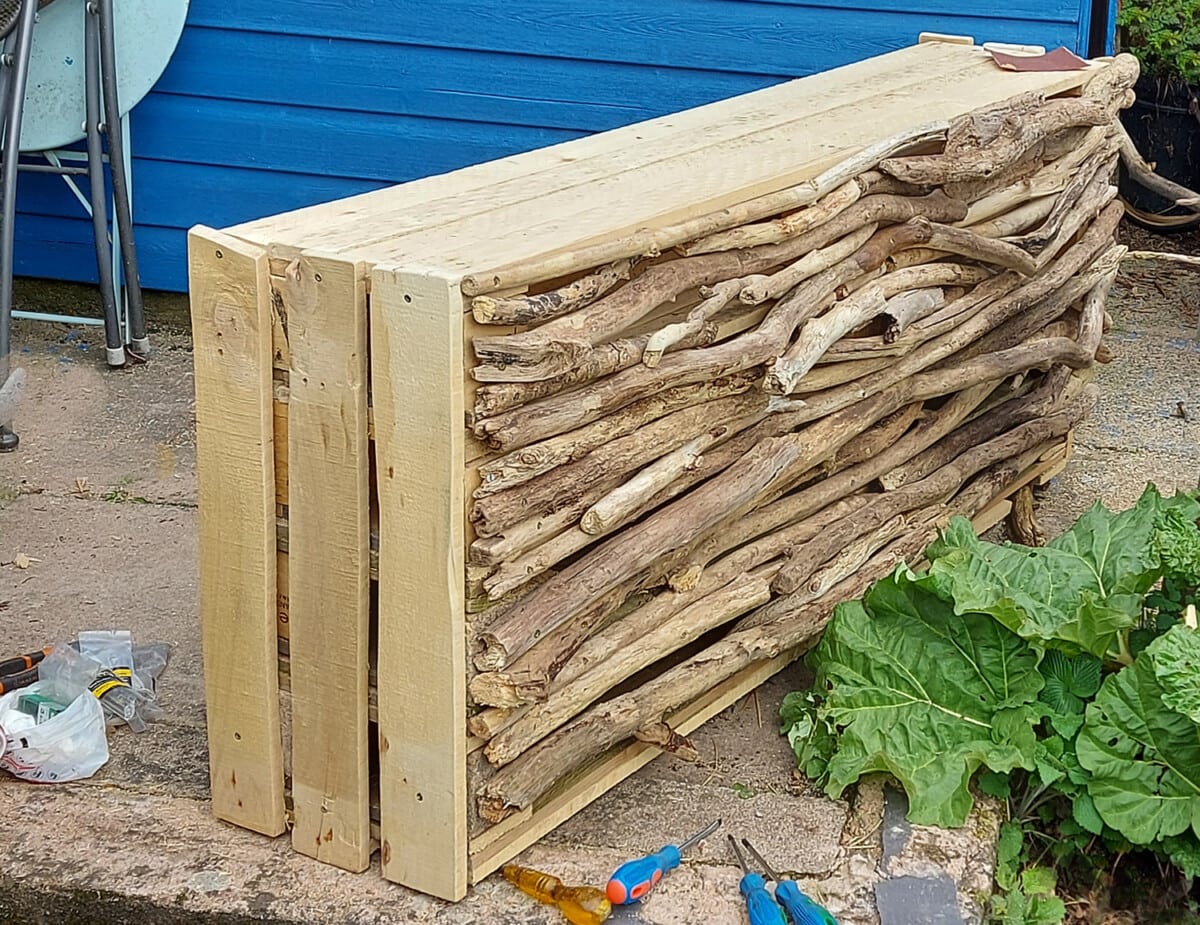 A bit of a rustic vibe, I don’t mind the hand-made look!