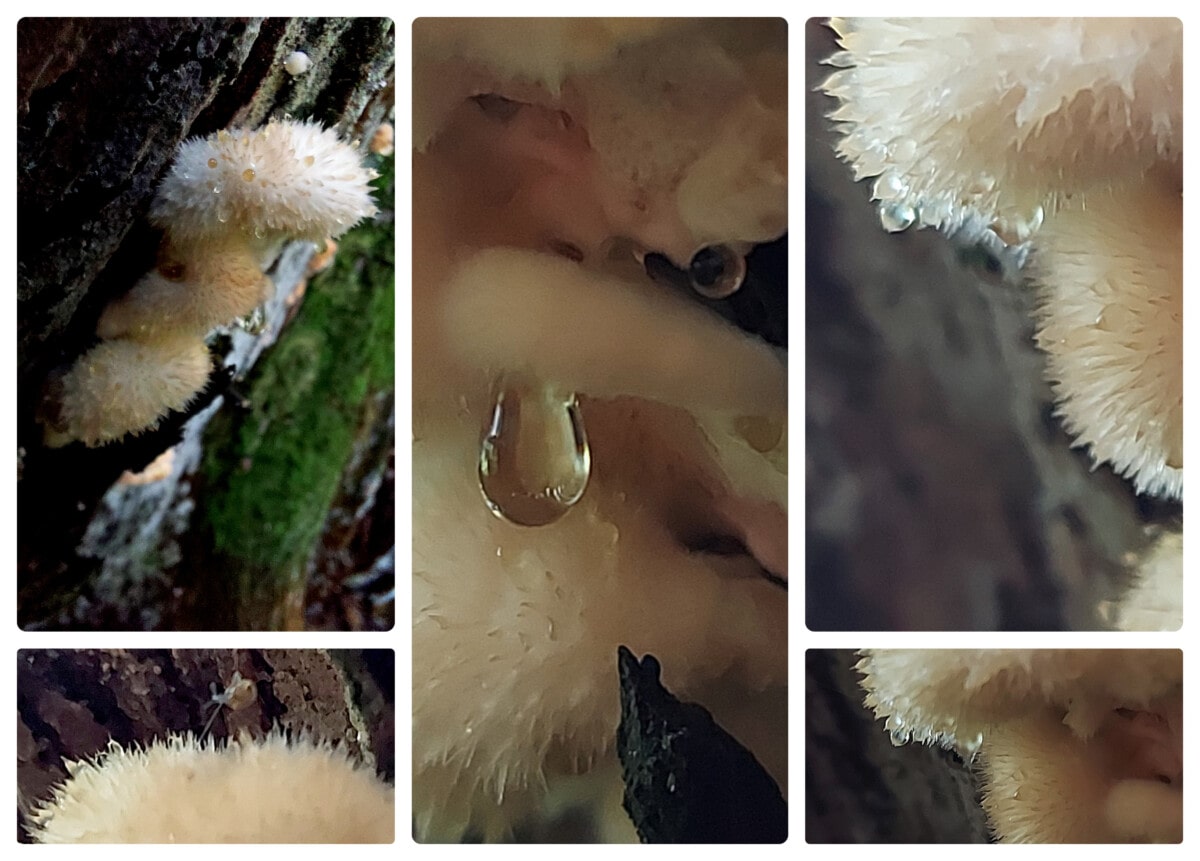
Photogenic Fungi – Powderpuff Bracket Fungus and more

Photo of Postia ptychogaster - Powderpuff Bracket Fungus - fluffy fungus in a dark coniferous wood

We had a wee tandem around ‘the block’ to visit a coniferous plantation in search of some ‘different’ fungi. There were loads! It’s taken a wee bit of looking up, and some remain unknown – however, here are a few of my favourites. They include some from a couple of other locations too.

Stumbling around the forest, Malcolm came across this amazing specimen [Main photo and below]. We’d never seen a furry, fluffy fungus before!
(And is that the cutest miniature snail abseiling down to the soft landing?)

Powderpuff Bracket Fungus photo - fungus looks like a fluffy powder puffPostia ptychogaster

Powderpuff Bracket Fungus

After some research and investigation worthy of a few fig rolls, I found out that this is a Powderpuff Bracket Fungus! Never was there a better name! And most definitely one of the most photogenic fungi I’ve ever seen!

There’s not a lot of information online about the powderpuff bracket fungus, nor is it in any of my mushroom books. Postia ptychogaster is found in coniferous woodland, on rotting stumps or logs – just as we found ours.

(Did that sound really smug?)Grid showing various angles and zooms of Postia ptychogaster
In complete contrast, a spiky-looking fungus [below]!

It is in fact a young Puffball – to keep with the puffy theme. It’s in the Lycoperdon genus. The mature puffball ‘puffs’ spores when disturbed/ dented or trampled – an impactful dispersal strategy!

Other names include ‘Devil’s Snuffbox’ and ‘Wolf Farts’. The latter name comes from the scientific name; luco means wolf in Greek, and perdon as in ‘pardon me’!

Artistic portrait photo of a spiky Young Puffball Lycoperdon genus

I have no idea what these next fungi are. ‘Twiggy-stemmed fungus’ didn’t bring up any leads! Lovely wee things with an interesting textured cap too.
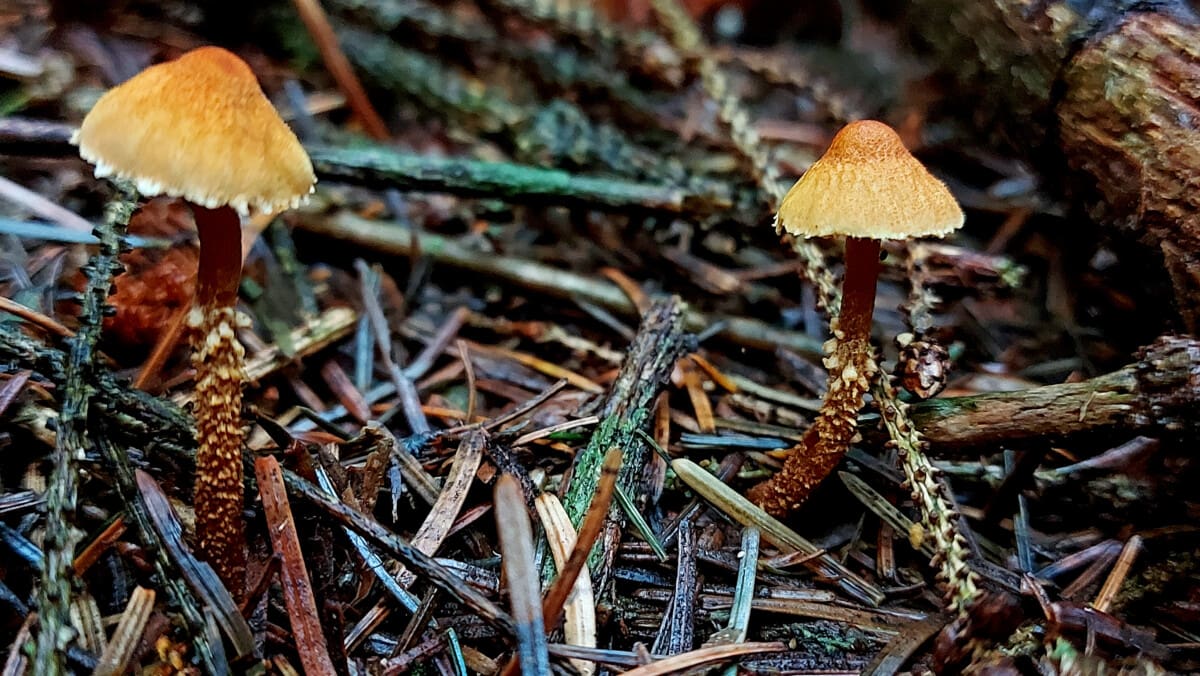
Photo of 2 fungi with twiggy looking stems, in conifer plantation

This trio of transluscent fungi are also unknown species to me.
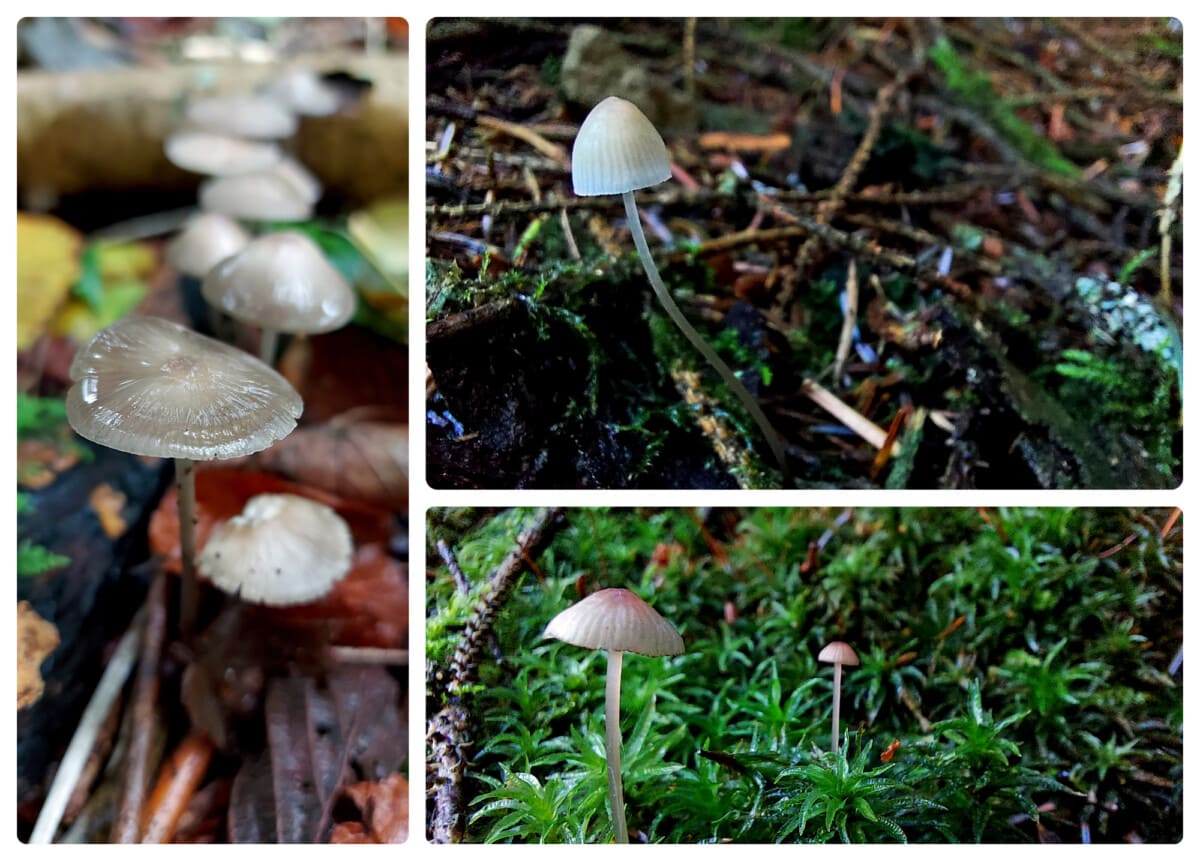
Grid pic of 3 fungi photos - all with transparent stems

A cute little one next – a Pine Bolete – perfect habitat! It was like a little button compared to its cousins…
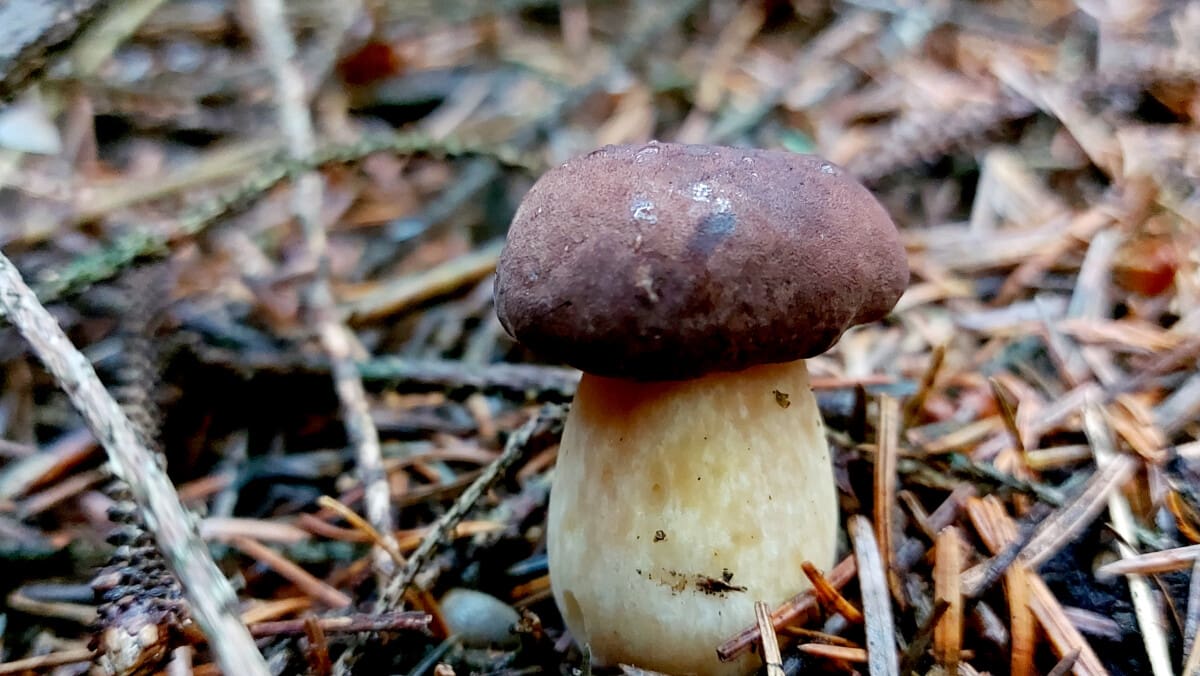
Photo of a small Pine Bolete

A particularly pale Birch Bolete [below]. Found under a silver birch tree, funnily enough. Away from the plantation, this was in in a small, broadleaved wood. You can see the pores (as opposed to gills or teeth) which look quite bread-like here.

The fungal spores fall from the pores to be dispersed by the wind. Handy having a relatively long stem.
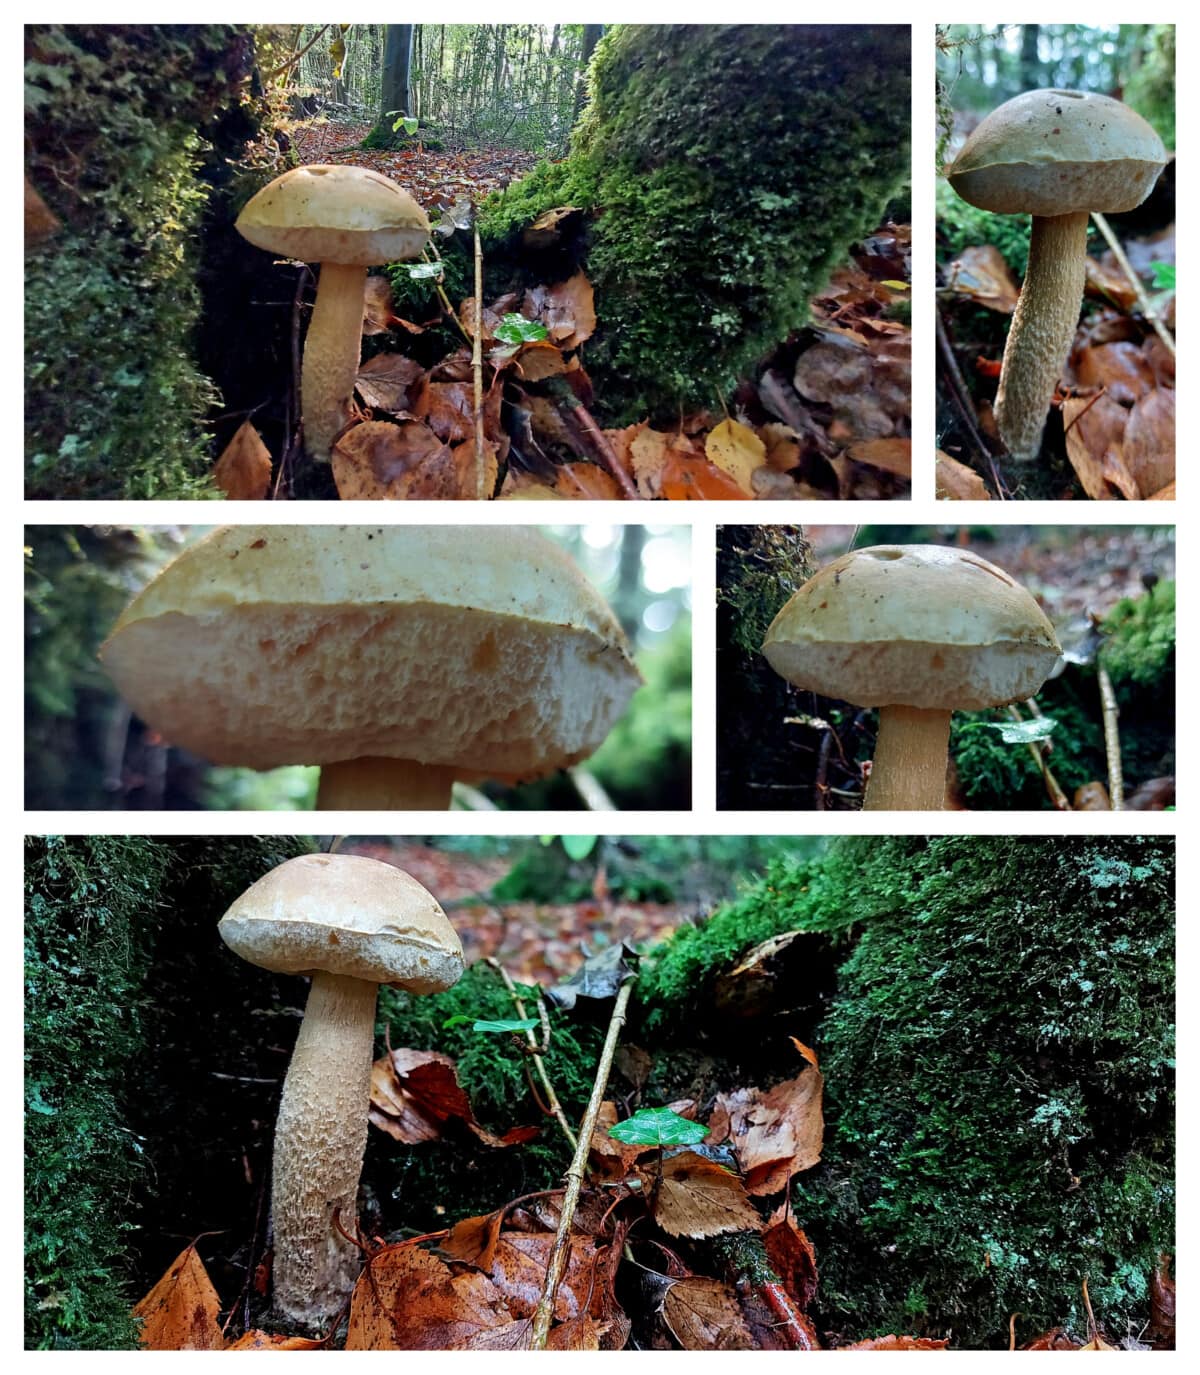
A small gallery of photos of a particularly pale Birch Bolete

Last but not least of the bolete, the prized Boletus edulis – Penny Bun, also known as Cep or Porcini! Also loved by creatures great and small. Malcolm dehydrated the one on the left in the picture below. We ate it (with Chicken of the Woods and Chanterelle) on toast for lunch!

Truly scrumptious!

A penultimate plunge into a splash of colour.

A young Waxcap [top]; Russula sp., aka Brittlegill [middle left]; Yellow Stagshorn [bottom] which remind me of an appreciative crowd at a festival. And an unknown red and white bracket-type fungus that wouldn’t look out of place in a coral reef [middle right]!

A grid of colourful fungi photos

And to end, another unidentified being. I think it is a fungus! It could also, conceivably, be a kind of lichen/ algae/ moss or mould!
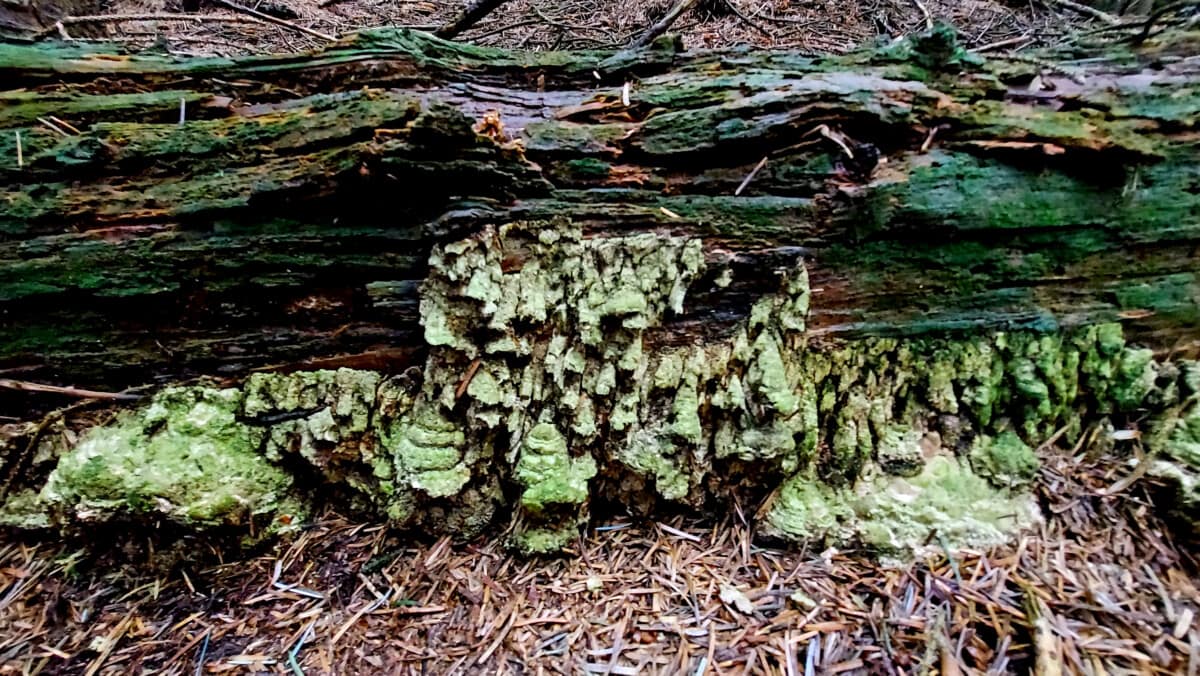
Fungi not moss, algae, lichen


For more fungi features, have a look at my recent Shaggy Ink Cap blog; a brush with some Hair Ice; some Fly Agaric art; an extract of Shaggy Ink Cap Ink; an enchanted nest of Elf Cups; a stinky encounter; and a frolic with Faeries and Fungi. Phew!
Witch Hazel Ink – making and drawing

I felt a teeny spot of inspiration today – the first day of the school holidays (for me). Given it hasn’t happened recently, I grabbed the moment before it left again!

Following my ink-making workshop last week (as mentioned here – with artist Kate Temple, hosted by Cample Line) which I enjoyed immensely (it got rid of a thumping heidache…), I decided to act! Having hung out the washing, I gathered a few fallen witch hazel (Hamamelis) leaves. (I’ve written about my love for Witch Hazel here, but only gave a fleeting mention of its autumnal colours.)

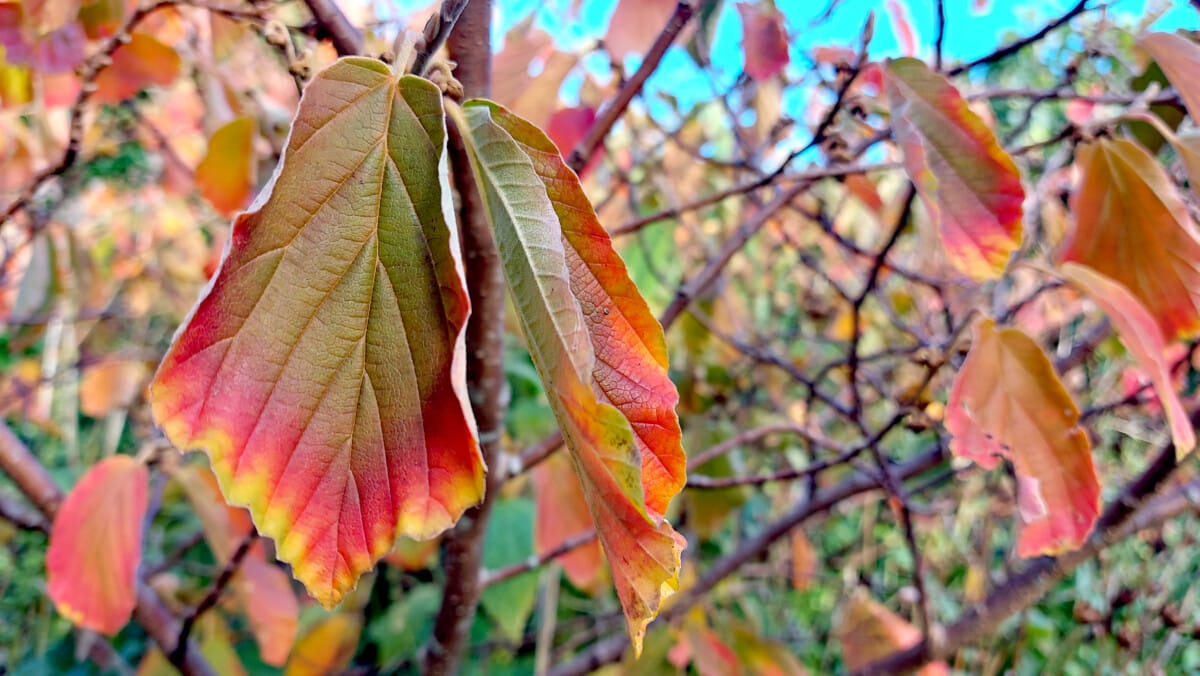
To rival the stunning sulphurous winter spectacle, my Hamamelis displays a wonderful exhibition in autumn. No enhancement necessary – this is how my phone/camera captured the colours:

Photo of the individual leaf colours on each witch hazel hamamelis leaf - red, yellow, orange, green

Each individual leaf boasts a real riotous rainbow – a treat I appreciate every year.

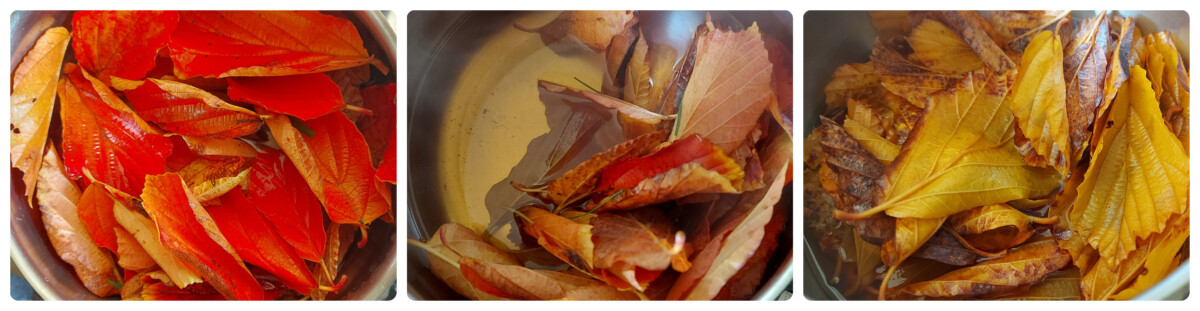
The leaves still clinging on to the tree were still holding on to their green.  The fallen leaves were mostly orangey red. I collected the most vibrant orange ones and popped them in a pot, unsure what to expect. I’d had a conversation with a friend and fellow ink-shop attendee about making ink from autumn leaves… We’d wondered if the changing hues would transfer to the ink?

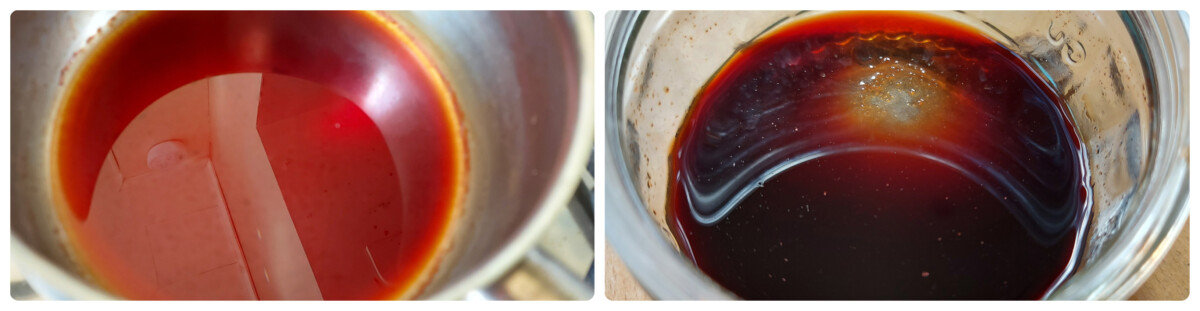
Souper seepage/ Oozing orange

A wee bit of a gentle boil later…

3 photos showing the colour leaving the witch hazel leaves through boiling in the ink making processAnd the colour in the witch hazel leaves did indeed leach into the water! Fascinating to watch the colour leave the leaves in a short space of time; the leaves left a somewhat peely wally version of their former selves.
An added bonus – the smell! Reminiscent of chilly, damp, wrapped up autumn walks, kicking through piles of leaves. Difficult to describe, but instantly evocative! The kitchen smelled wonderful!

I had a wee taste too – as you do…

If you’ve ever licked a sloe – the sensation was similar! Does tannin have a taste? If so – this is it! That dry tongue thing – that makes your cheeks implode! Not quite tart, bitter nor sour – a particular dry icky licky thing all of its own!

Concentrating colour

Checking my workshop notes, the next thing to do with the ‘stew’ is a reduction. The golden glow began to intensify into toffee-apple tones as I evaporated the water off. This is an ‘evaporated ink’, as opposed to a ‘raw (uncooked) ink’. Evaporated inks, according to my notes, should be more consistent (i.e. won’t change in time/ with light – more later).

Photo showing 2 stages of witchhazel ink reduction - intensifying the rich tones

As per instructions, I added some gum arabic. Another time I might not use sandpaper to powder the crystal as I had to fish out wee pieces of the sand! The gum arabic is added to improve the consistency of the ink. Another time I’d experiment with more.

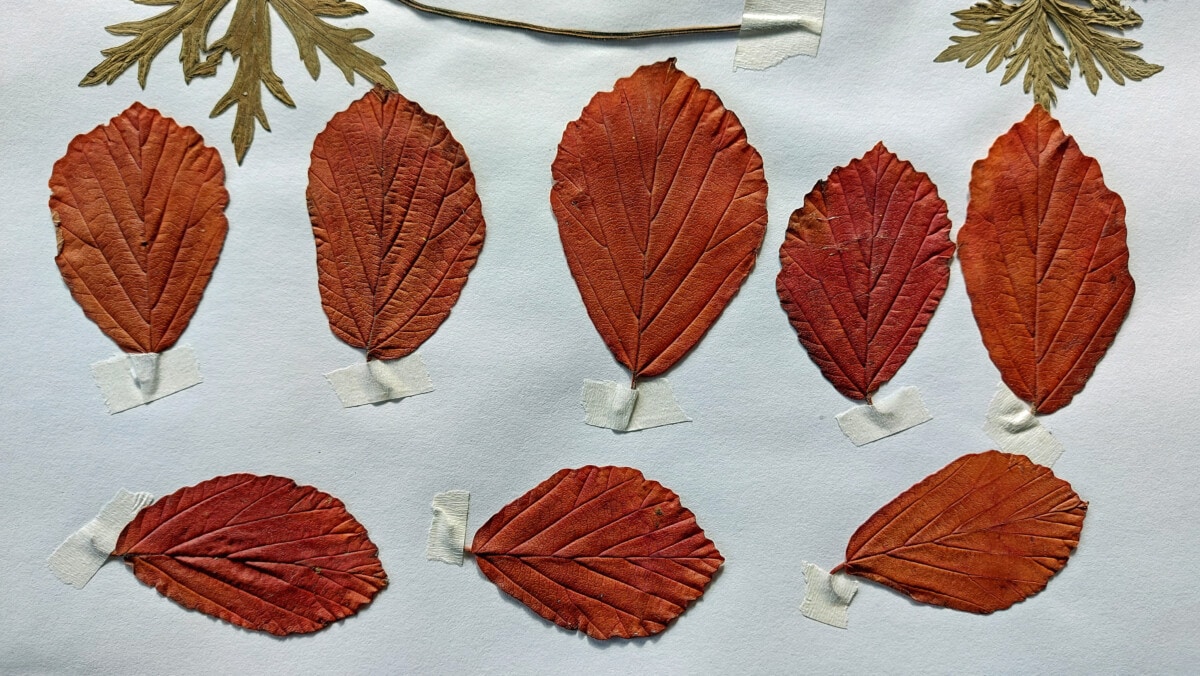
I retrieved a particularly poor (in terms of paper quality) sketch book from under my microwave. Perfect for a bit of a test with the ink. I’d used it a few years ago to press leaves and grasses. I knew there were some Hamamelis leaves in there somewhere! Interestingly, they’d turned a similar shade to the ink.

Photo of 9 pressed witch hazel leaves taped into a sketchbook

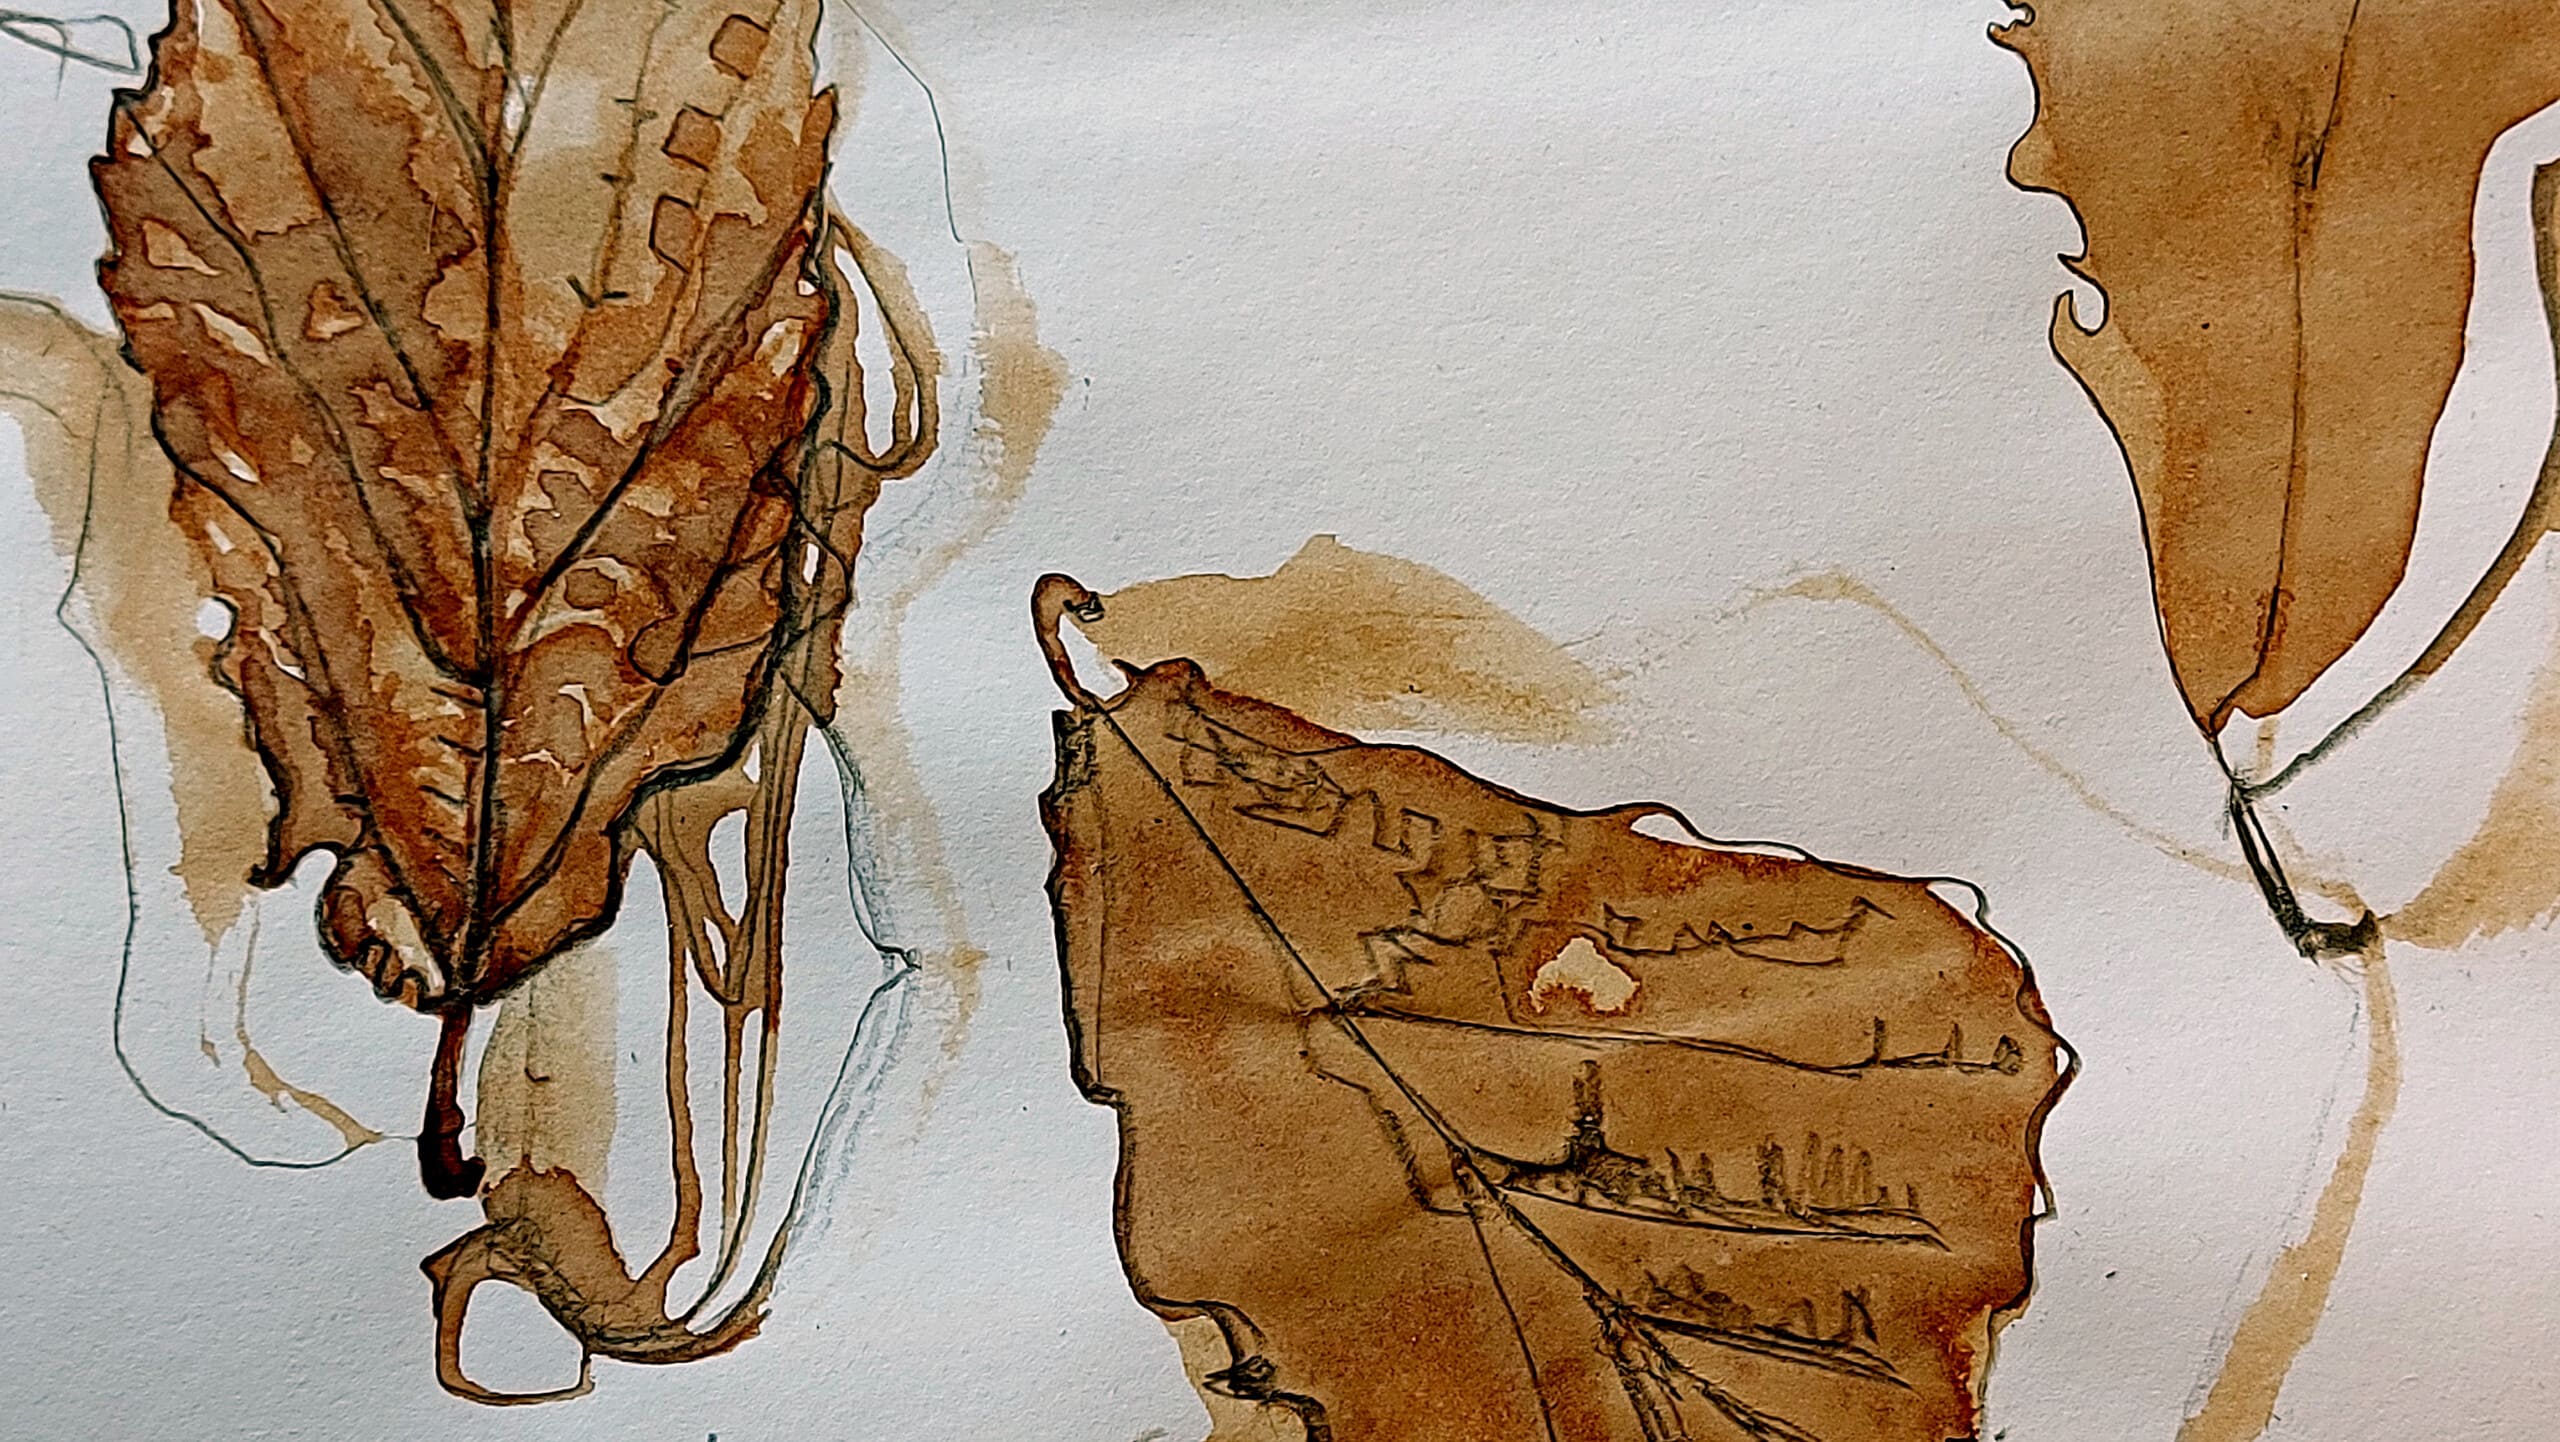
It was with some disappointment that I noted that the ink seemed to lose its vibrancy after a wee while – perhaps something to do with oxidisation or temperature? (I failed my O’Grade chemistry!). However, I sketched some inky leaves regardless.

Leafy doodles

A selection of crops from my Witch Hazel ink drawings (of witch hazel leaves)

I am keen to find out about the light fastness of inks – i.e. if they fade/ change in the light. I can confirm that my shaggy ink cap ink, which has sat in Malcolm’s window for over a year, is completely light fast! Hooray!

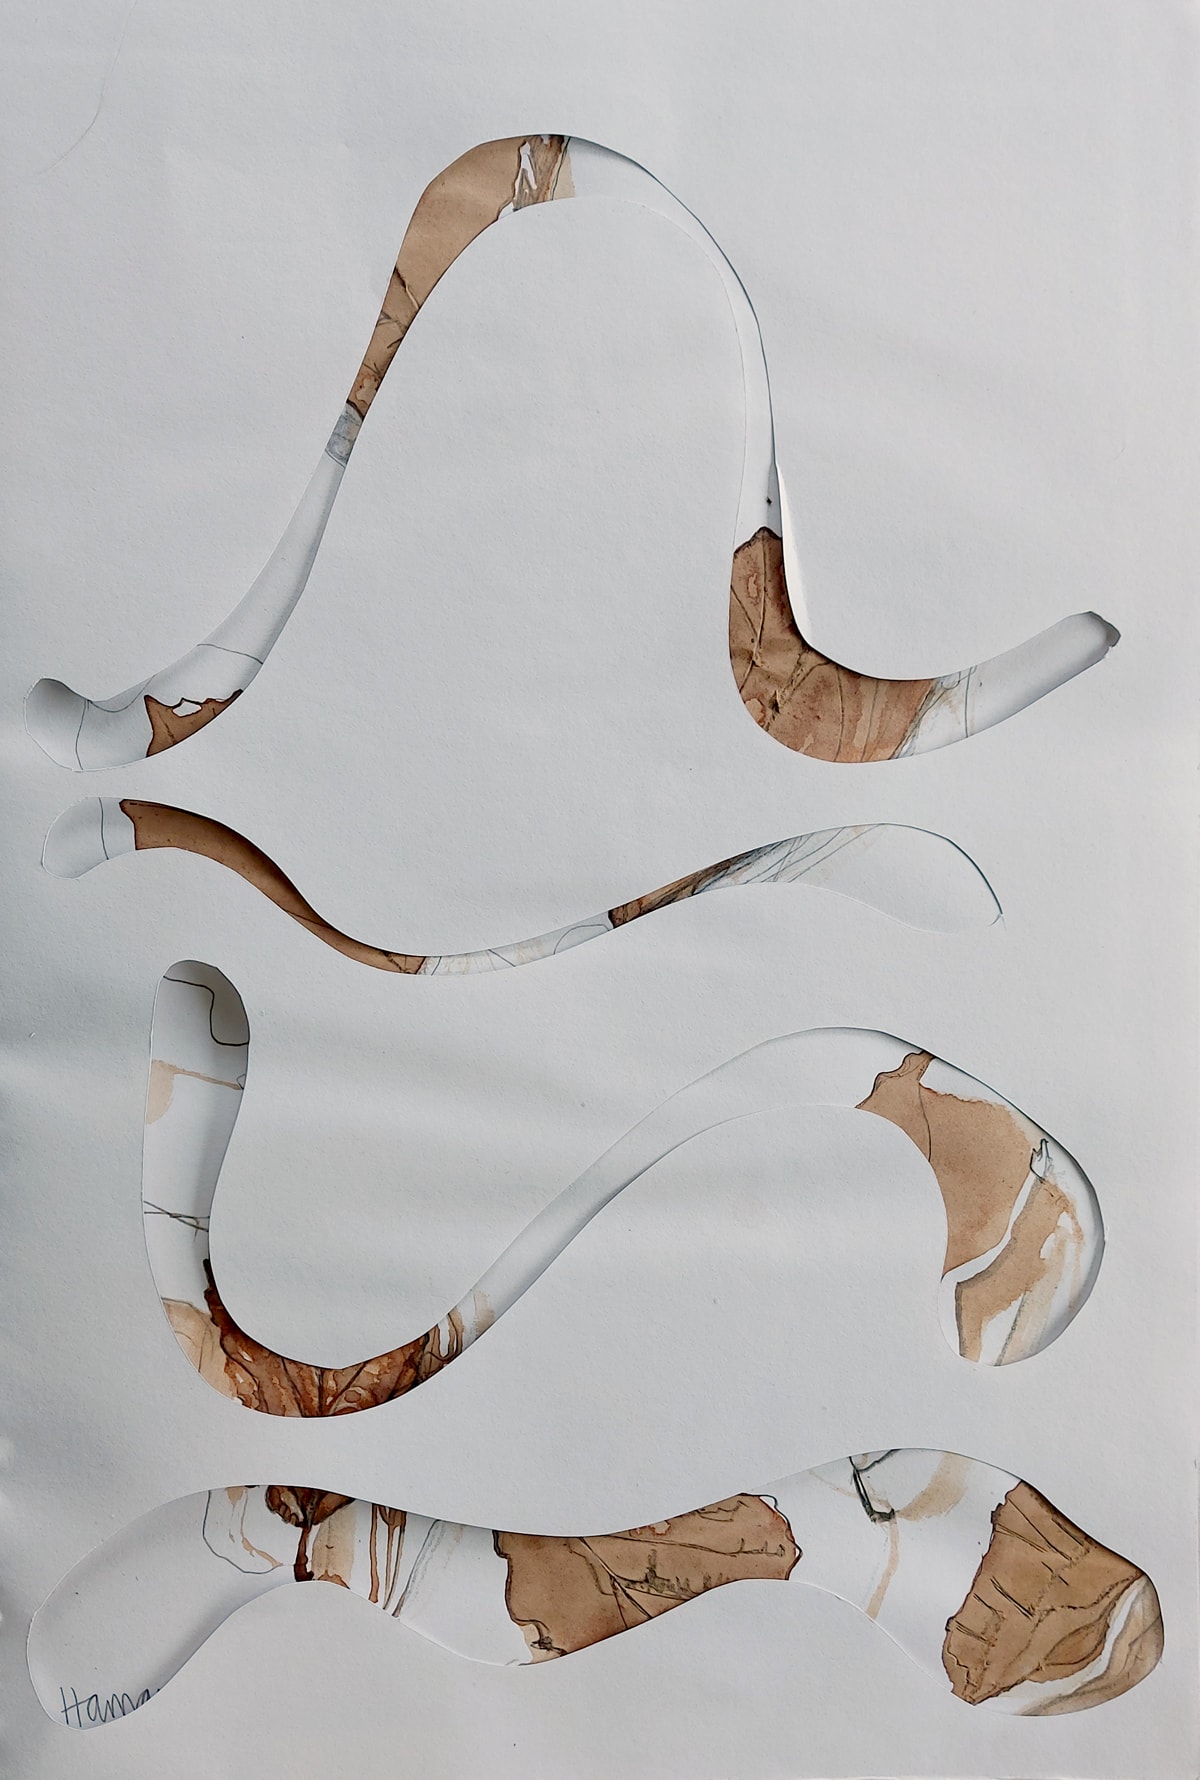
So… I have made a bit of a ‘screen’ to check if this witch hazel ink will fade. It is a bit flappy (see ‘paper quality’ above), but if I stick it down in places, I think there will be enough ink exposed/ covered to ‘spot the difference’.

Witch Haxel ink drawing - colour fast test - sun block using a page with cut out shapes on top of the drawings

I shall report back!


Coprinus Comatus – Shaggy Inkcap

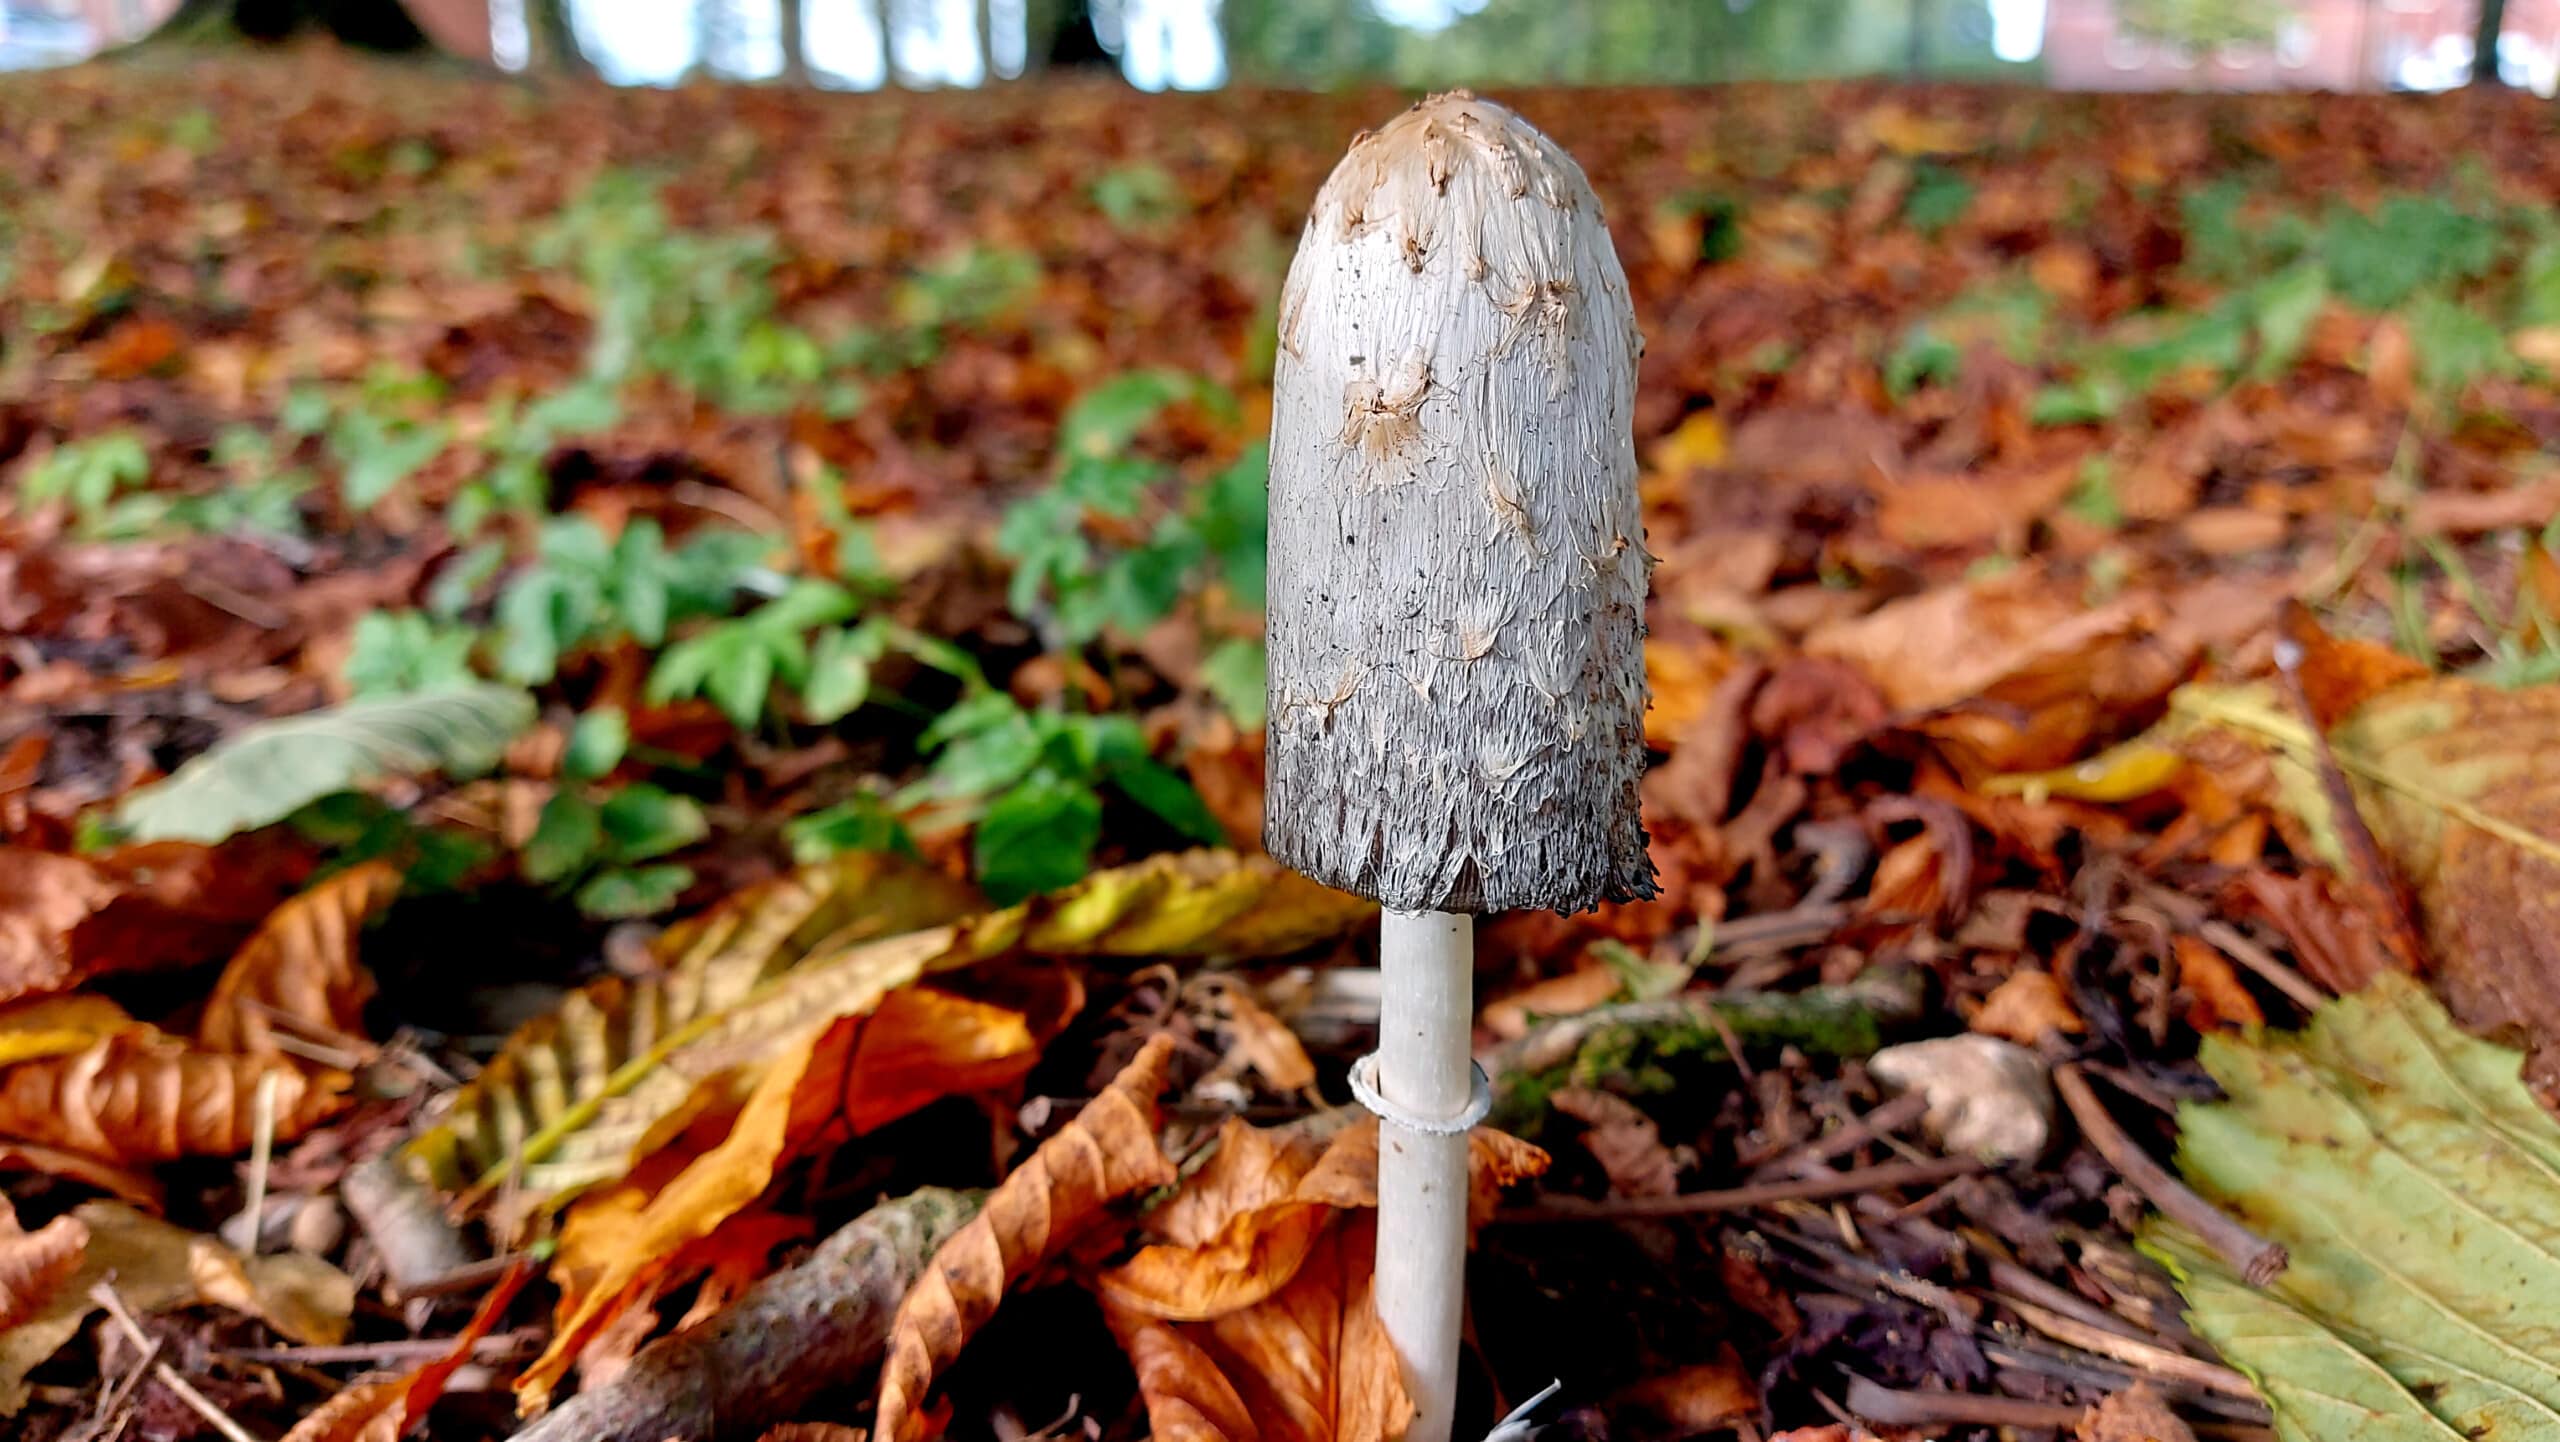
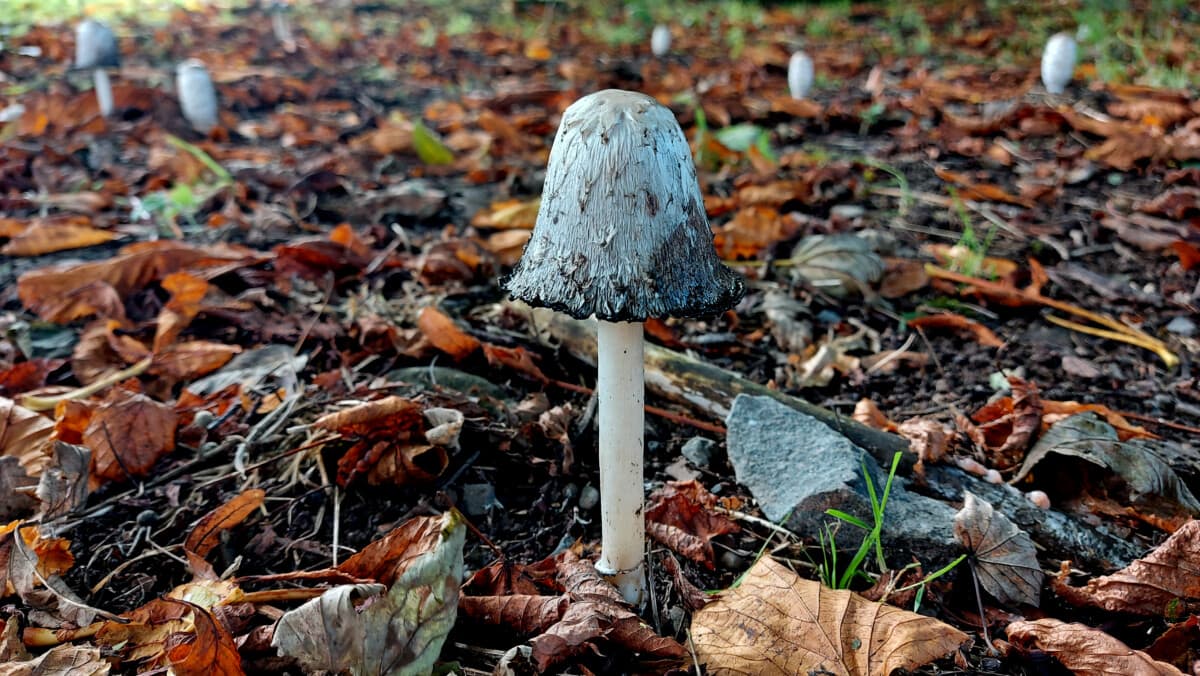
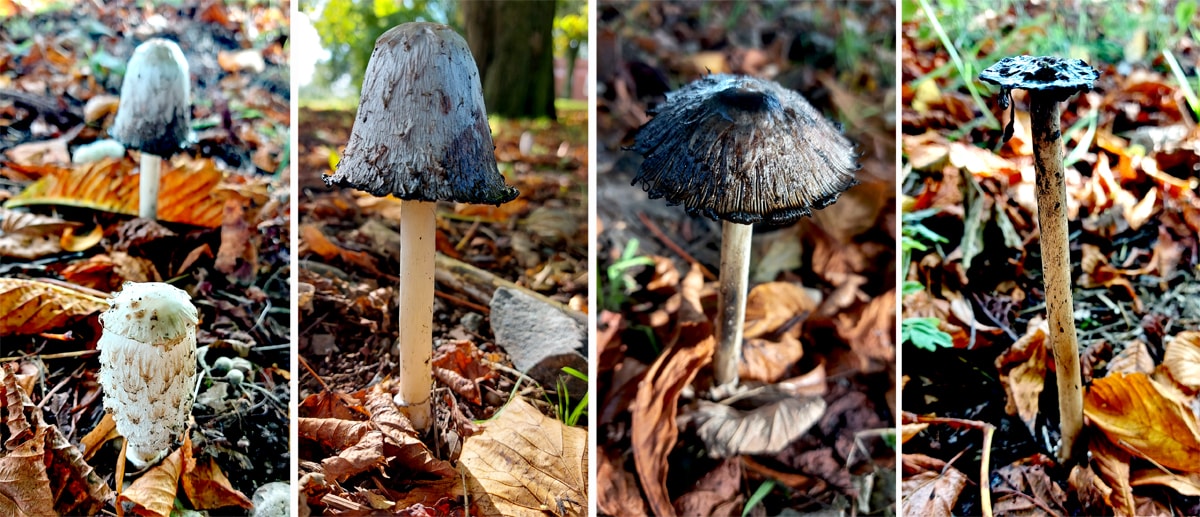
Photo of a single Coprinus Comatus in the early autumn leaves

I participated in a wonderful natural ink-making workshop during the week. (Presented by artist Kate Temple and hosted by Cample Line). Thanks for the heads-up Sharon!  I gathered a wee (poo) bag of things to use to make ink (berries/ bark/ vegetation etc) but have yet to apply the process… Watch this space.

Mugshot

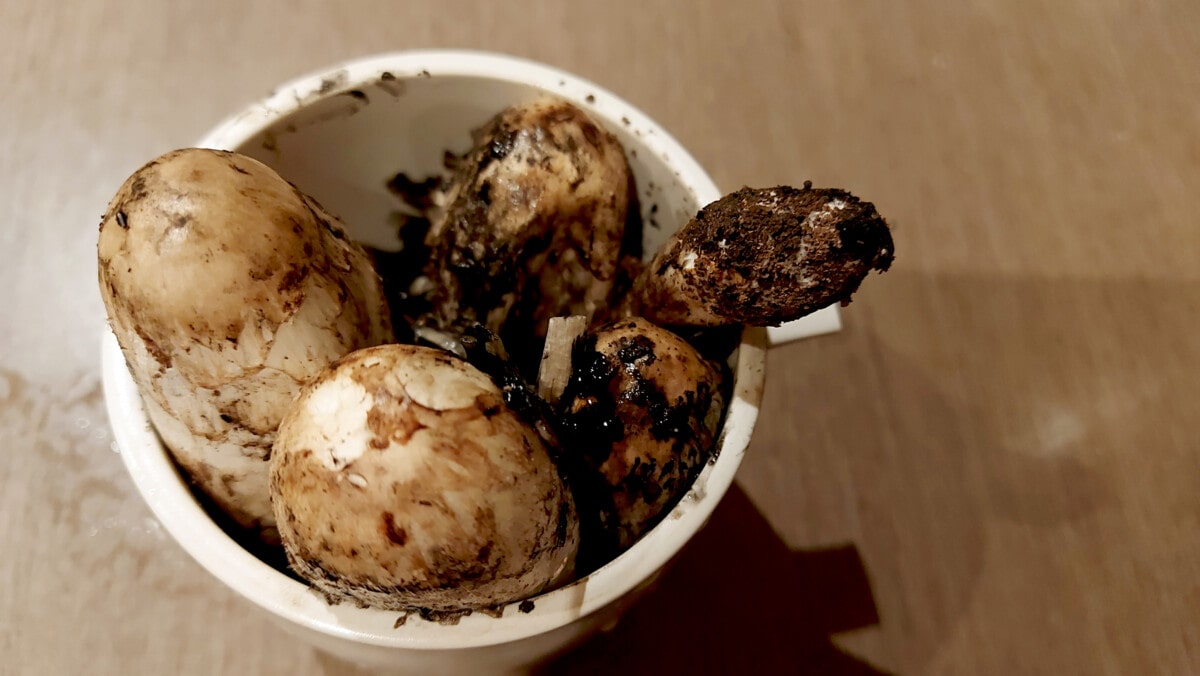
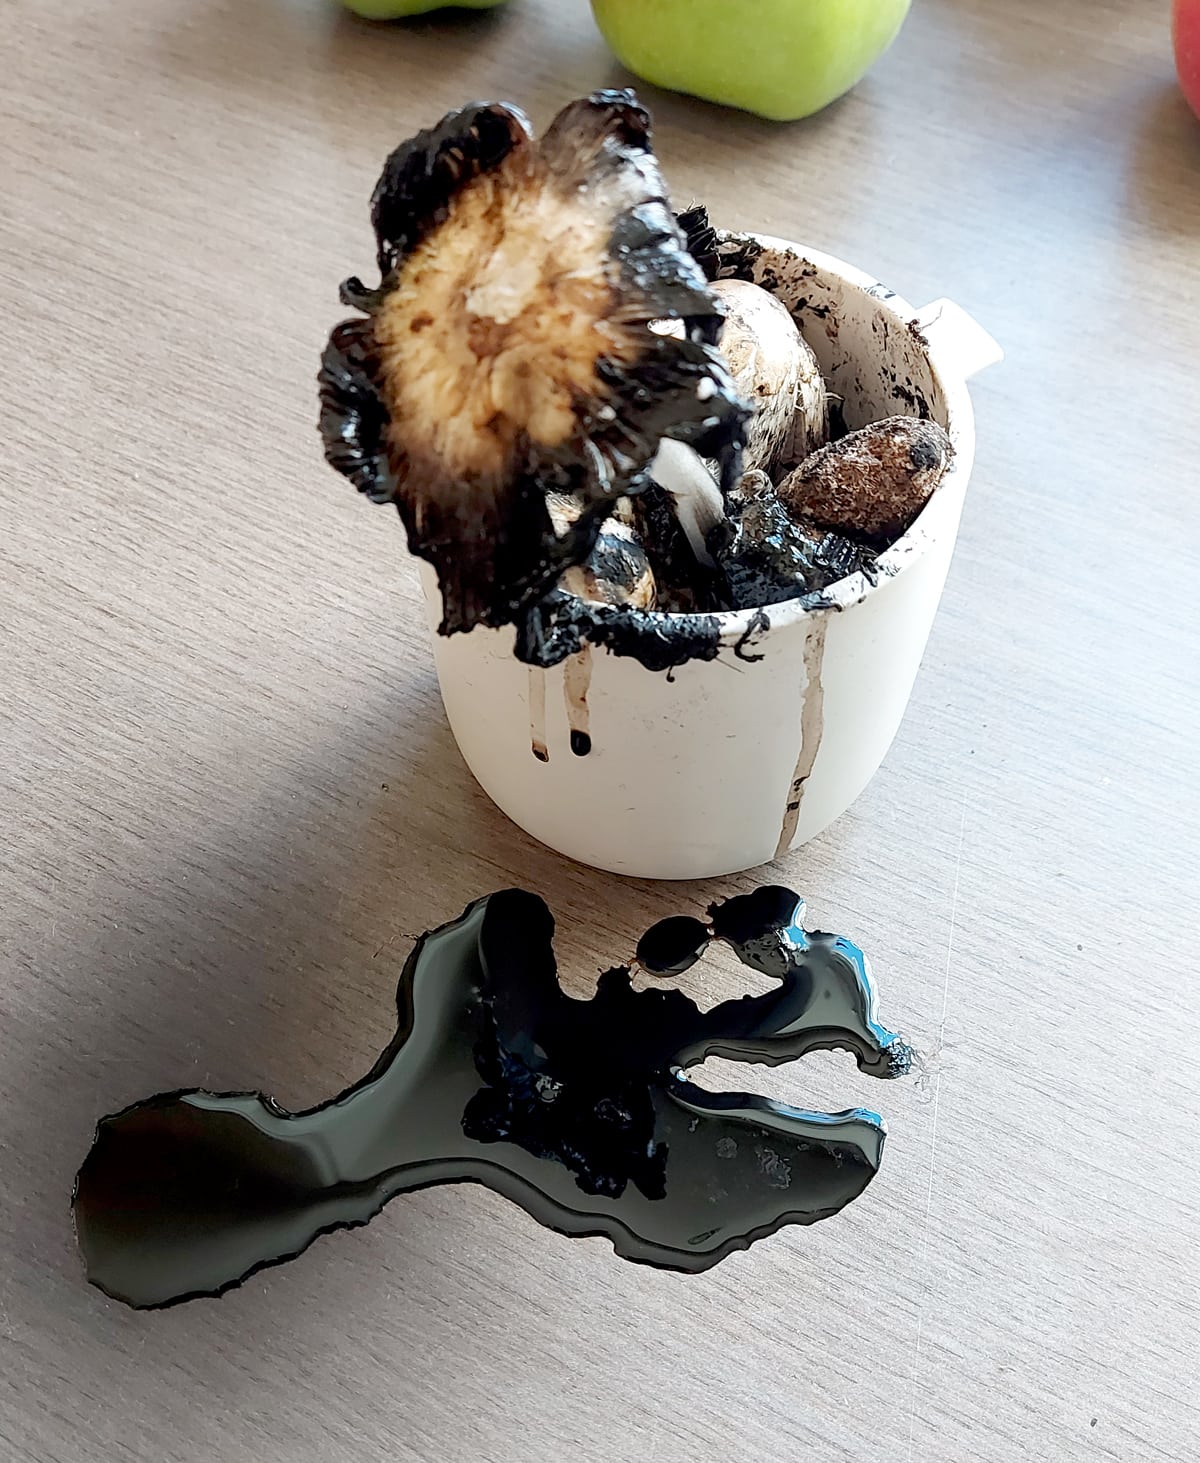
Opportunely the very next day, and following my success of making Shaggy Inkcap ink last year, Malcolm returned home with a handful of Coprinus Comatus (Shaggy Inkcaps)! They had all been either broken or knocked over. He put them in a similarly broken mug on the kitchen worktop.

As explained in my previous blog, Shaggy Inkcaps ‘deliquesce’ – a wonderful word for ‘becoming liquid’. The gills change colour from white to black and they quickly start to decompose and drip… This is the ink I collected and used in a couple of fungi drawings last year.

Photo of a few Coprinus comatus in a mug on kitchen work surface

On having written about the speed of the process last time, one might have thought one would have been prepared for what met us in the kitchen the following morning…

Oh yes! What a mess!!

I’d have loved to take a stop-motion video of the drippage! Maybe next year.

Spore Print

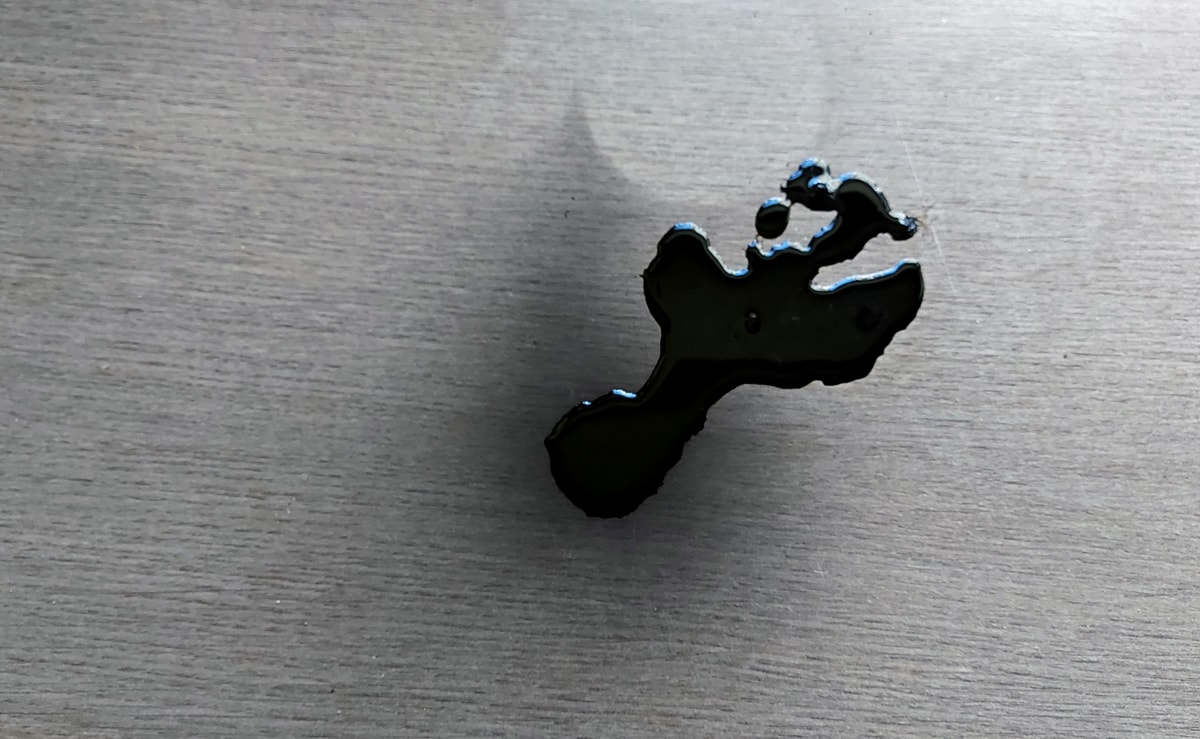
On moving the mug into the sink, I noticed, to my delight, that the Inkcaps had left a (black) spore print on the worktop! (How I wish I’d put down some paper!)

I’d presumed last year that the mushrooms spread their spores through the deliquescing process – but I was perhaps proven partially wrong! Intrigued as to the purpose of the liquification, I have now read that it does indeed help the dispersal of the spores. The elongated form of the fungi isn’t favourable in unaided spore dispersal.

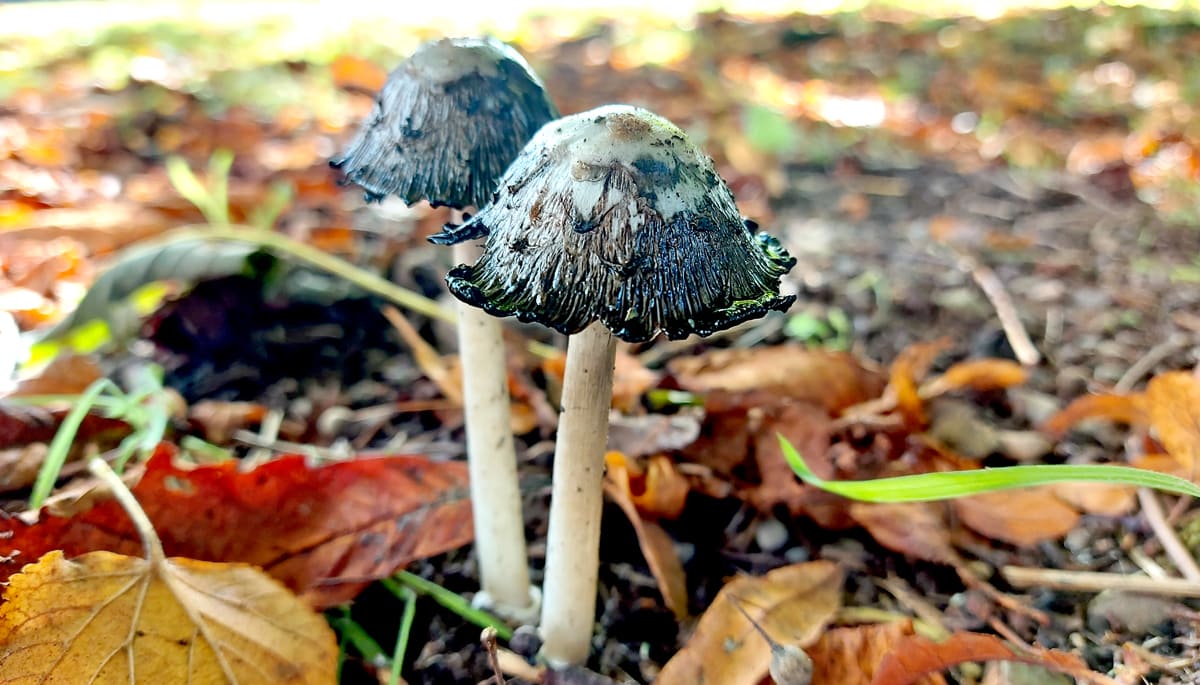
On returning to their favoured spot, we found lots more Coprinus comatus growing!

They are relatively common, and grow in disturbed soil, or by roadsides, or in lawns (my cousin has some in his lawn!).
I will spread the spores from the print onto my own ‘lawn’. I’d love a colony of Coprinus!

Very beautiful, and drawing me in to draw another!

A fascinating fungi, I’ll post any inky drawings in my Portfolio.