

A look at ‘how to make a copper plate etching – step by step’. A wee behind the scenes glimpse of this traditional (non toxic) printmaking process.
I took some photos (when I remembered) of a few stages of the copper plate etching process. Four of us use the space and facilities of the Print Studio at Gracefield Arts Centre in Dumfries on a weekly basis, occasionally more often. I am down to one dodgy eye (keep going lefty!), but the company of good friends and a bit of banter makes a Wednesday night!
[Descriptions are beneath each image below…]
The Beginning
The process begins way back at the beginning with cutting the copper to size. We use a heavy duty guillotine. This requires full body weight and a bit of a jump to get the blade through the plate! Next, to stop the sharp edges from damaging the press blankets (or soft tissues), the edges of the plate require filing. This makes the bones in your forearm rattle, and the sound can set your teeth on edge. However, it also creates a nice bevelled edge to the embossed plate-mark on the paper. After filing, the surface of the plate must be degreased…
Degreasing
Sharon, Demie, John and I have been through many different non-toxic solutions, and combinations, to prepare the plate’s surface. I prefer to use Bar Keeper’s Friend – a powder originally made from a compound found in rhubarb! (One of the BKF chemists had noticed how clean his pots were after boiling it)! I sometimes think I can feel rhubarb having a ‘degreasing’ effect on my teeth! I remember my mum using it back in the 1980s.
I’ve heard that soya sauce is another effective degreaser worth a shot! Why not make it a culinary event?!
Once water stops pooling on the surface of the plate (this can take a lot of elbow grease), you need to apply a hard resist. This protects the copper from the etch. Thus drawing into the hard resist to expose the copper, which will then be etched – suspended in a ferric chloride solution (Edinburgh Etch).
Resisting!
We were introduced to Lascaux hard resist, which the non-toxic studio provides for users. This is a water-soluble, translucent, acrylic resist. It dries hard. I hated acrylic paint at Art College, and I found it difficult to draw into here! My arm would hurt from the effort!
Sharon and I have moved on to using BIG, a black (or red) ground which I find a lot easier to draw into. Sharon tested the red, then I bought the black… It does require ‘cooking’ – though I advise against popping a copper plate in with your tea… It was a messy experience (with burnt results for tea!).
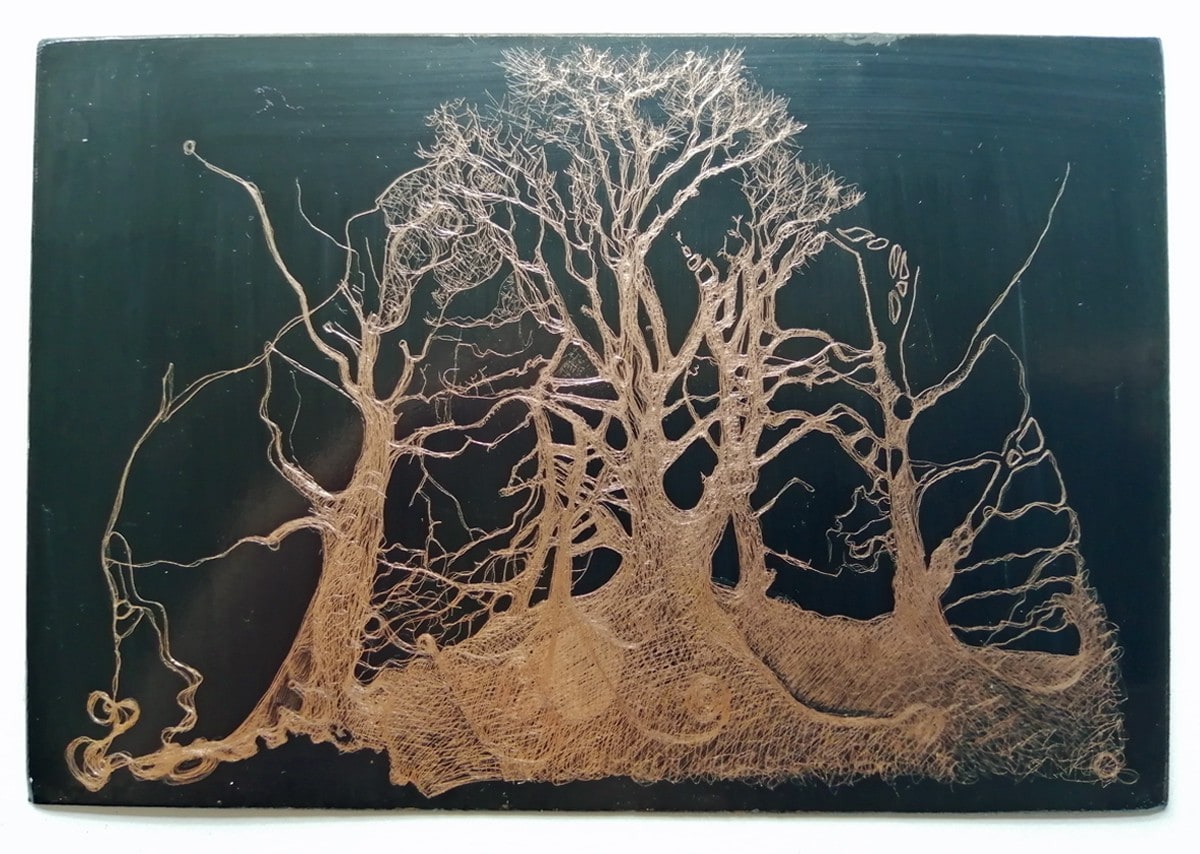
My favourite part of the whole process – the drawing! You use a needle (etching tool) to draw lines and make marks breaking through the hard resist to expose the copper. I am keen to try out some different tools, as I am still using the £3 bobby basic needle I bought on our course 3 years ago!
The picture above shows my plate drawn into, and ready for its first dip into the etching tank. I tend to prefer drawing this stage free-hand, though others spend time on perfecting drawings beforehand and use tracing and carbon papers to transfer their designs.
Etching
As above, the plate is suspended in a solution of ferric chloride and citric acid – Edinburgh Etch.

Sometimes on removal, the plate oxidises and becomes tarnished. I rather liked the pretty pink effect this time! (I’ve yet to try it, but believe that a salt and vinegar solution will de-oxidise the plate). The etch has ‘bitten into’ the lines, whilst the BIG (black) ground resists the etch/ protects the plate. These covered areas will be white when printed, the lines black. And the whole plate is in reverse. It can boggle the poor old mind a bit.
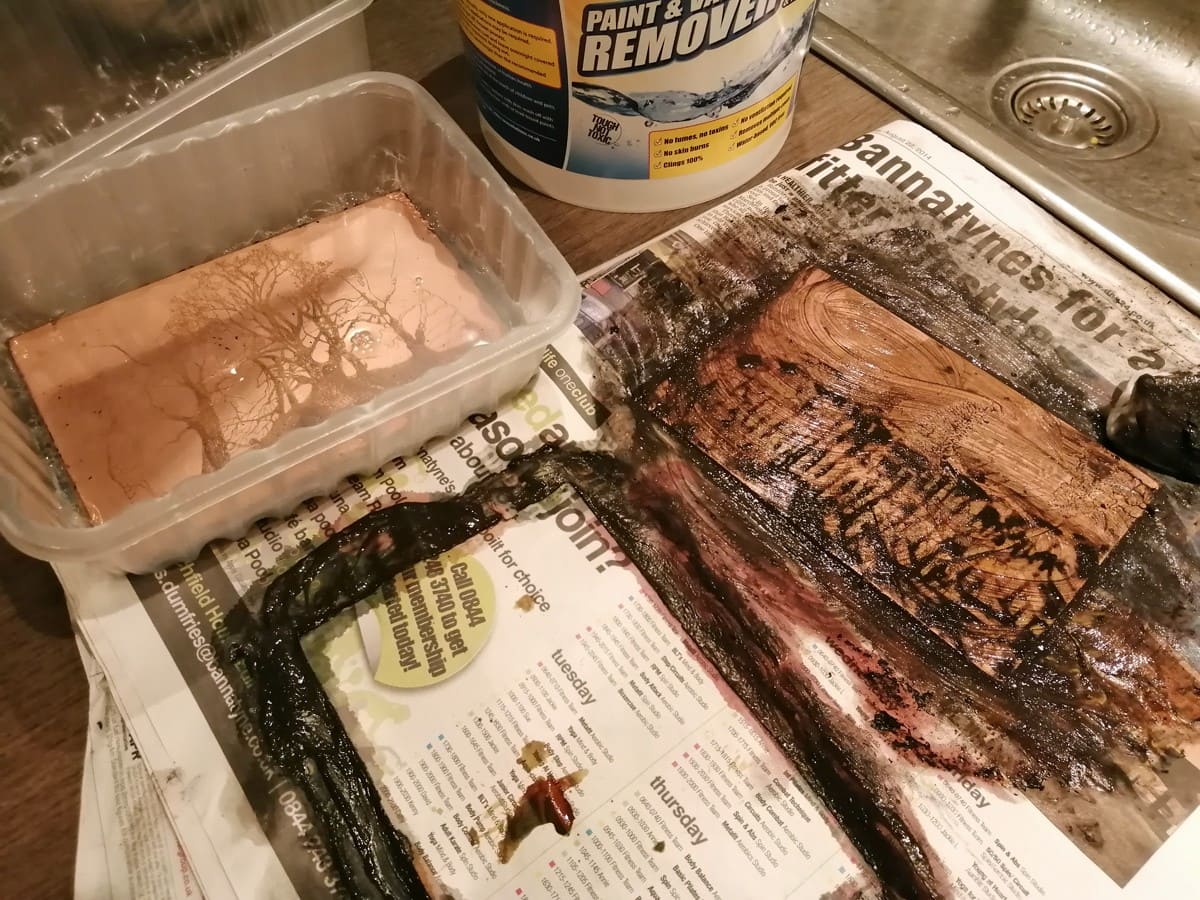
Stripping the hard resist from the plate can be a messy business! Again, between us, we have tried and tested quite a few methods of stripping! My favourite is this non-toxic paint stripper which has proven itself on everything (apart from one layer of something stubborn on some old tongue and groove back at home!).
The plate is now ready for inking up.
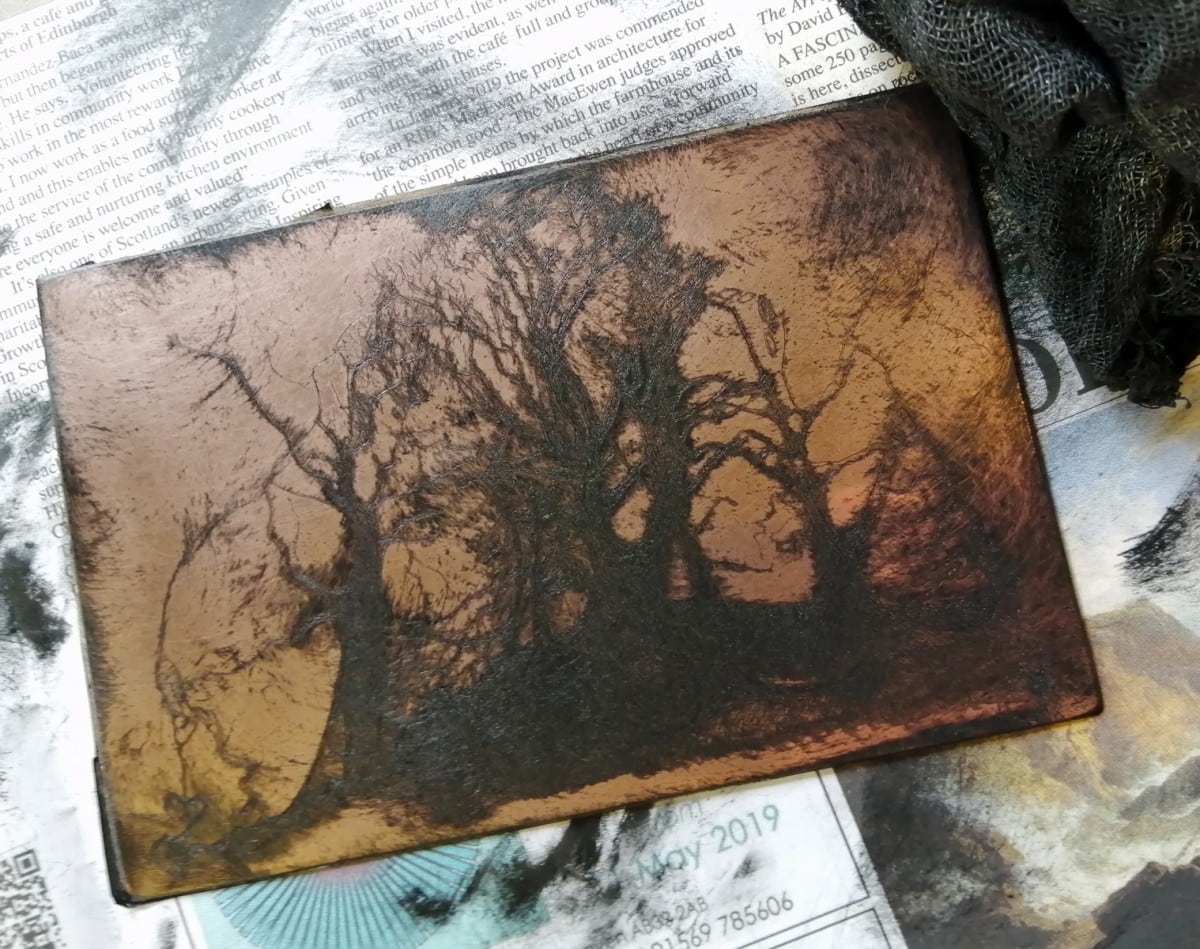
We use Cranfield Safe-Wash etching ink which is oil-based but water-soluble – it washes away with soapy water (as opposed to oil-based ink which requires white spirit or vegetable oil to remove). And scrim – a coarse gauze fabric – to push and rub the ink into the lines of the etched plate. Everybody has their own particular way of inking up and then removing the excess.
The Middle
The photo above shows my ‘Into the Trees‘ plate at a stage where a fair bit of the ink has been removed. I will already have used 2 different pieces of scrim to get to this stage, and would be changing to another. I’ve used the same pieces of scrim for… quite a while now! One ink laden, one middling and another one (or two) with a lot less ink on them. It is a tricky process to ensure the desired balance of dark/ light lines. Remove too much ink and the lines are too faint, leave too much ink and lines aren’t defined… As a final flourish, a sheet of Yellow Pages is used to ‘polish’ the surface. Our tutor, the late Silvana McLean told us that you will get a ‘feel’ for a plate!
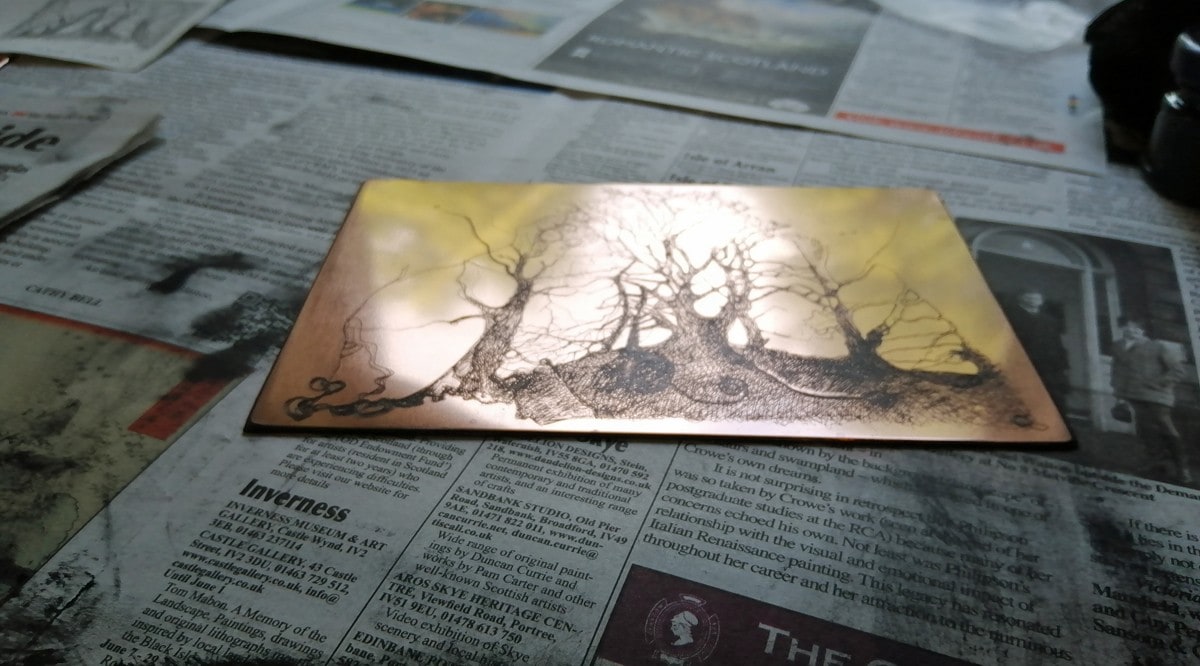
The plate is now inked up and ready to print.
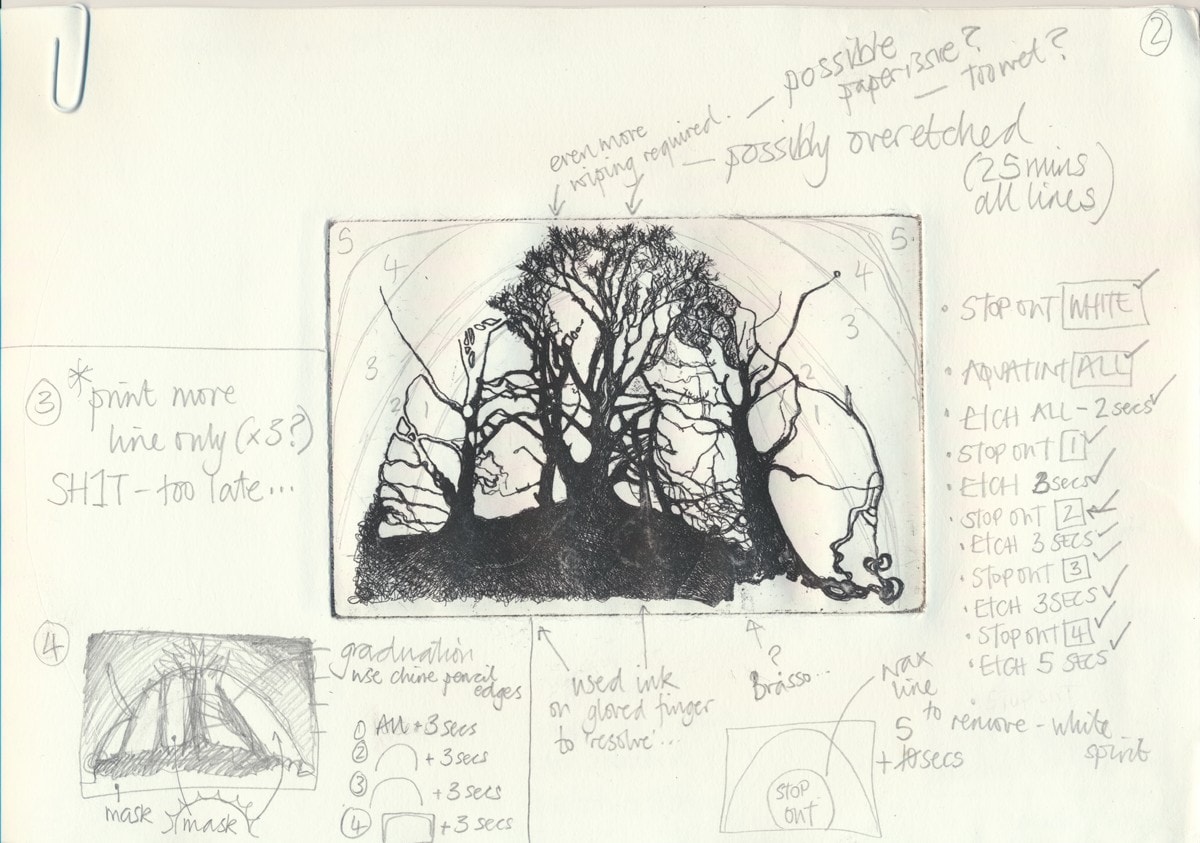
I have a (very) heavy sketchbook full of disasters/ proof prints/ bits of copper/ stages of aquatints etc. And copious notes! This is a fairly typical example [above]. I have learned that the notes have to be legible and coherent to some degree if I am to find them useful next time (or to come back to next year!). I’d have used my best handwriting had I known I would be taking photos!
Aquatint
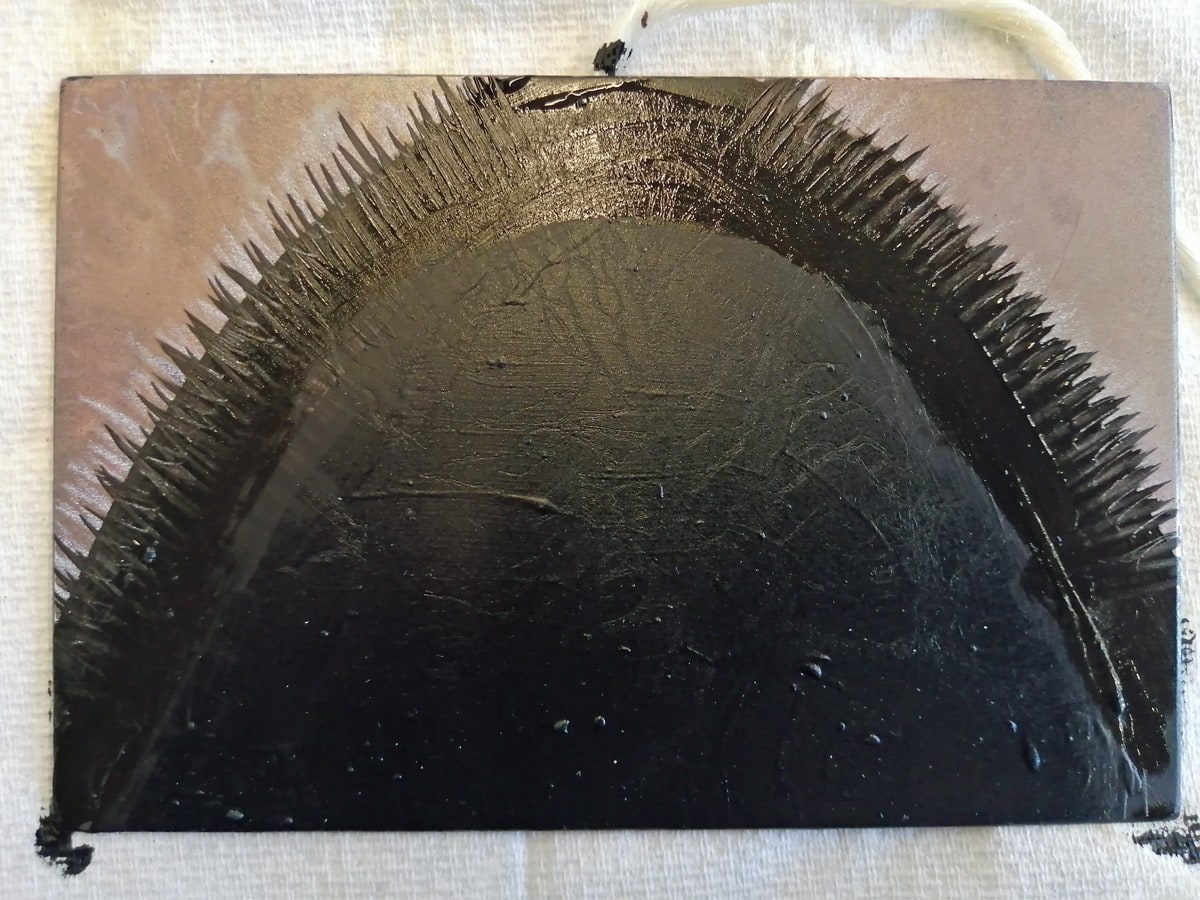
I don’t actually have any photos which show the aquatint. It is basically spray painting the surface of the plate (traditionally using a flammable rosin). We use an airbrush and a special aquatint resist. This process lays tiny dots of resist on the plate, which once etched will create areas of tone. The depth of tone is dictated by the concentration of aquatint and the length of time the plate is etched.
The background of this plate was etched no fewer than 5 times, for a few seconds each time. In between etching, a further area was ‘stopped out’ with stop out each time! A lengthy process. The picture above shows the stop out (resist) somewhat clumsily, coarsely, nae, crassly ‘feathered’ with wax based pencil at the edges. I am still trying to find a stop out that I enjoy working with… This one thick and lumpy, another thin and unpredicatable.
More experimentation needed!
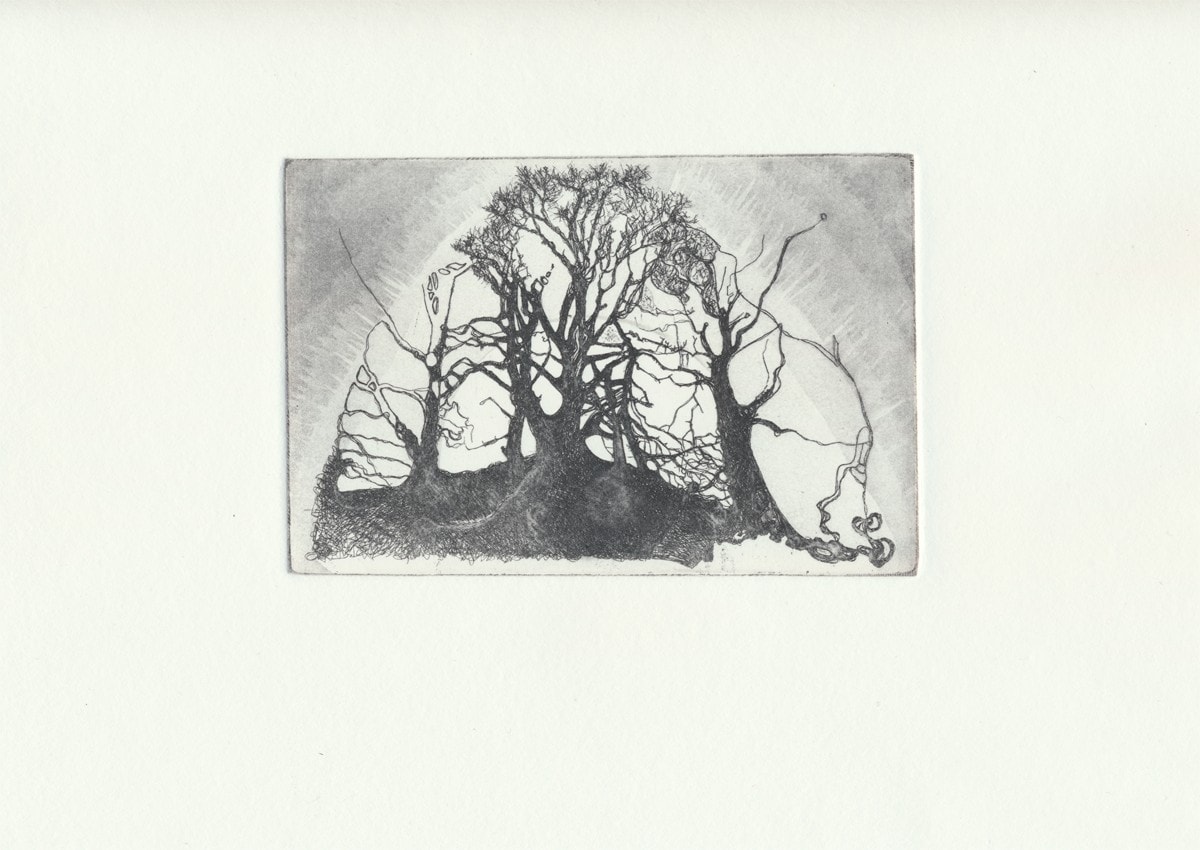
You can see the tone created by the stop out/ aquatint process in the proof/ print above. (This proof is destined to be another page in the sketchbook!)
The End
Therein lies a whistle-stop tour of the etching process. It can take several weeks to get to the stage of actually printing a plate. Each step along the way is riddled with endless possibilities for disaster. The nearer the end, the higher the stakes!

